A step-by-step guide on how to mass import students from into New Zenler.
You've decided to make the switch to New Zenler. Smart move!
And because you're so smart, you've already moved all your content to New Zenler by sending one simple email to support@zenler.com
Now you want all your students to be moved as well. And you'd be damned if you have to do it one at a time.
I'm here to tell you that is not the case. New Zenler makes it super duper easy to move your students from your existing LMS (Learning Management System) to New Zenler.
Let's do this in a few quick steps.
I'm going to use my Teachable school as an example. The process should be pretty similar to import students from your LMS, if you're not using teachable.
Jump to Section
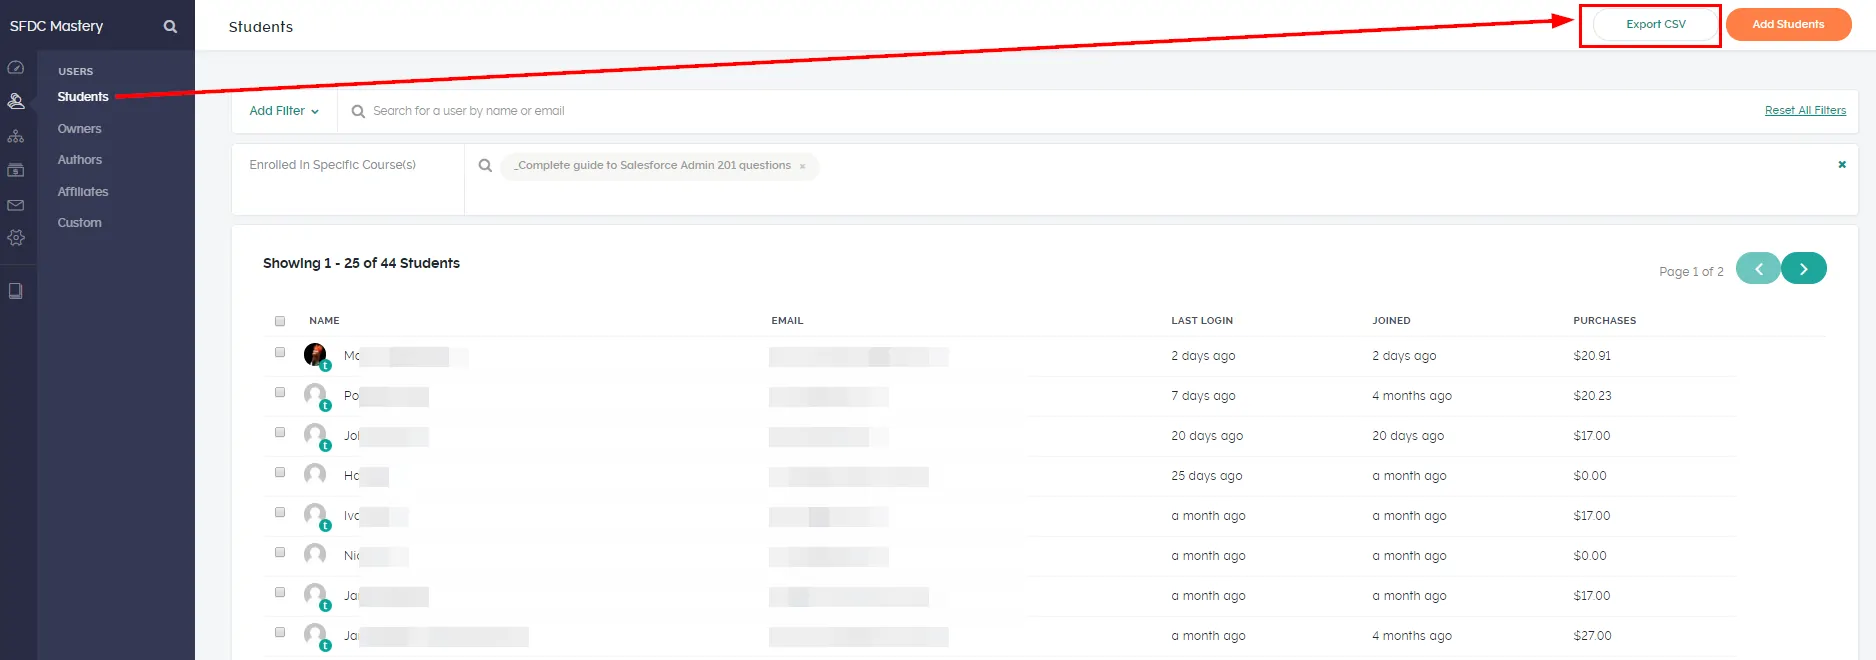
Step 1: Go to your teachable school > Users > Students

Step 2: Click on Export CSV

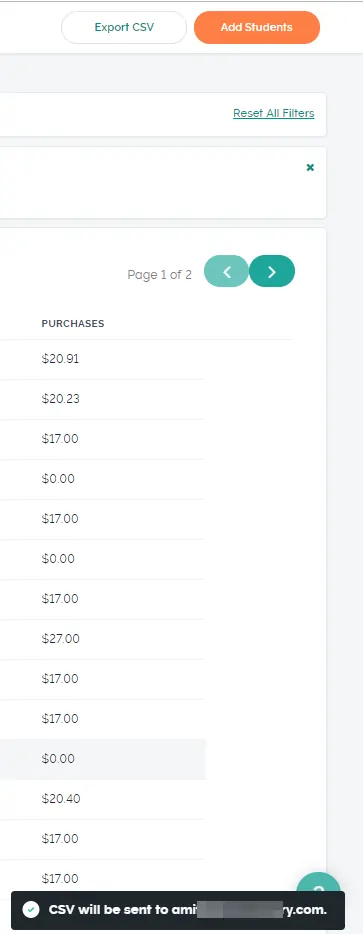
You will see a confirmation email that the student list has been emailed to you.
Step 3: Click the link in your email and download the CSV file

Now we move on to New Zenler and import these students.
Step 1: Click on Site > Import Users

Step 2: Download the sample CSV file from New Zenler

This will help you format your file correctly to avoid any upload errors.
Step 3: Edit CVS and copy-paste columns from Teachable CSV covered in Step 3

Note
You can add additional columns if you have created custom fields in New Zenler.
Step 4: A final check to map your columns correctly

You can change the mapping here if you need to. If you have created your excel file with the correct headers then you won't need to make any additional changes here.
Step 5: Import users as Students

This is the most important step! Make sure you're importing all these users as a student from that first dropdown. You definitely do not want to import them as authors or worst, Administrators.


After you press the Finish button you will see this message. At this point, you just sit back, relax and grab a cup of your favorite beverage.
Step 6: Final Verification in New Zenler. Head on over to Site > People > Student

Here you can see all the students that were imported using your CSV file.
Note
When you import students using the Bulk Import process, everyone gets an email with their Username and Temporary password if you check the box during the final step. However, if you import them one at a time using the manual process then they will NOT receive the email automatically.
I hope this tutorial has helped you understand how to mass import students to New Zenler.
About Me
Amit Arora
First off, thank you so much for stopping by! I started my course creation journey in 2015 when we had our 1st baby boy. My wife was home on maternity leave and we came up with the idea to create an online course while she had the time off from work.
Four years later....


