


New Zenler has finally released blogging on their platform!
This is HUGE! Let us walk through the steps of enabling and publishing your blog on New Zenler.
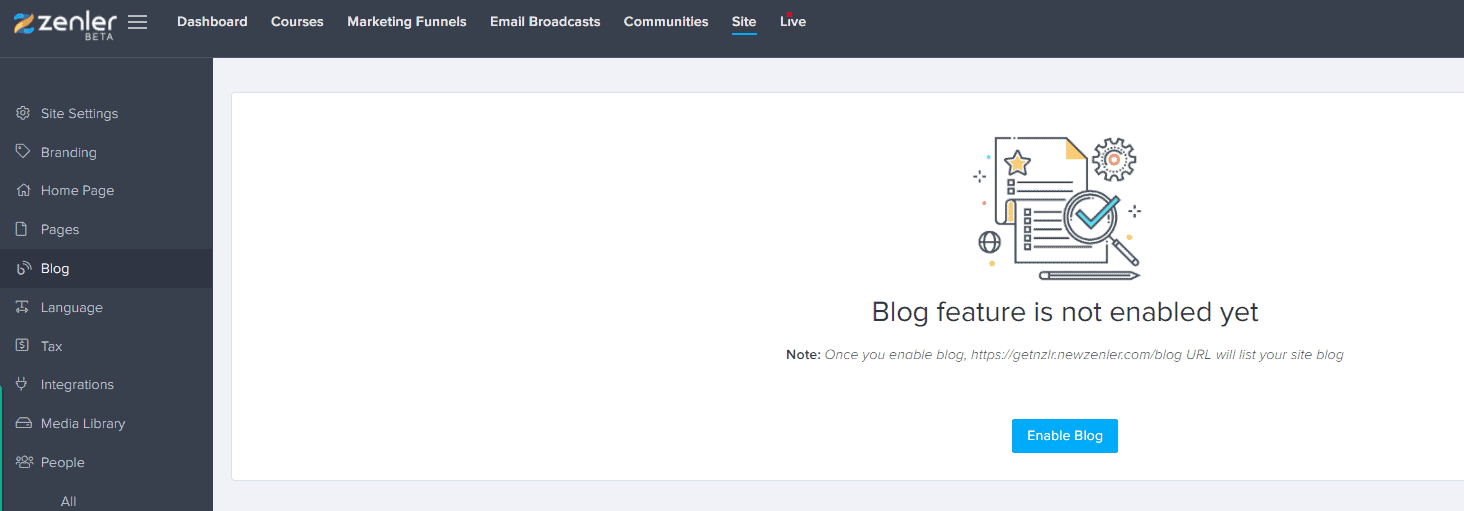
Step 1 > Enable your blog
Head on over to Site > Blog to enable your New Zenler blog feature.

Note: You have to be on the Pro or Premium plan in order to enable the blog feature in New Zenler. If not then you will see the Upgrade button in your school.

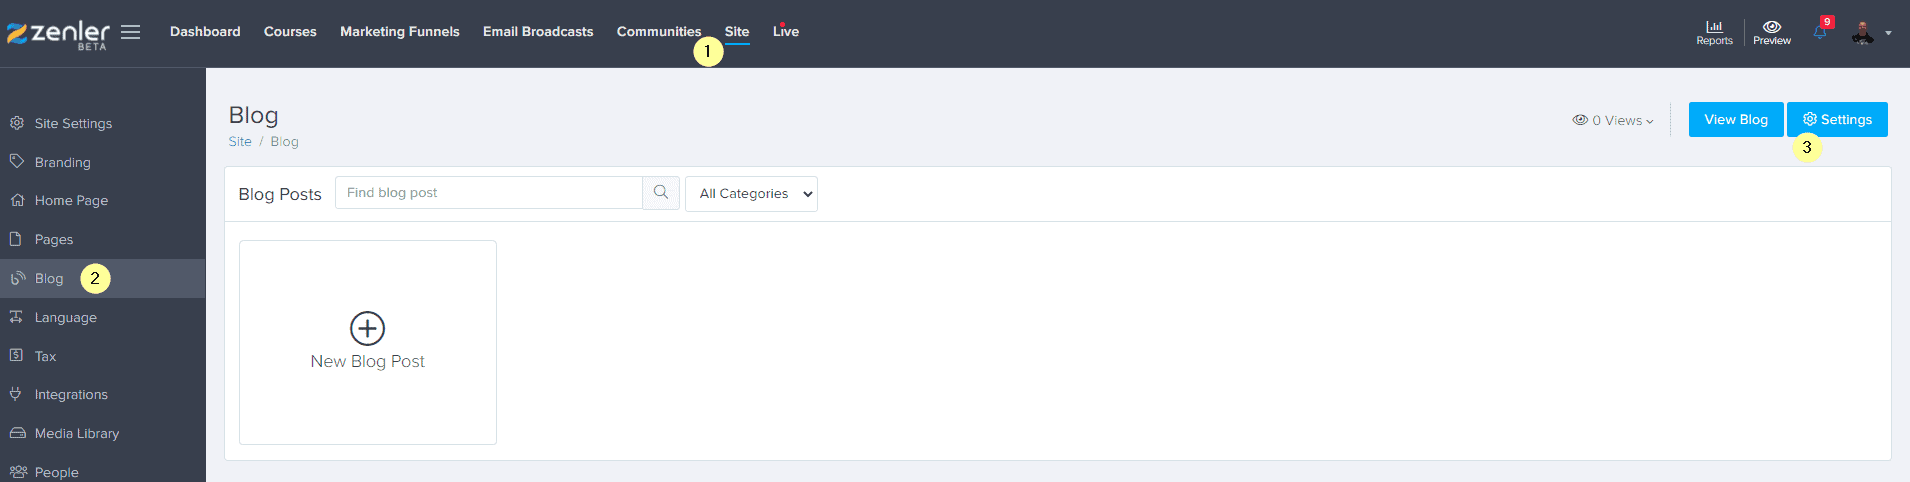
Step 2 > Blog Settings
Once you have enabled blog in New Zenler, head over to the settings button for your blog.

Step 3 > Understanding Blog Settings
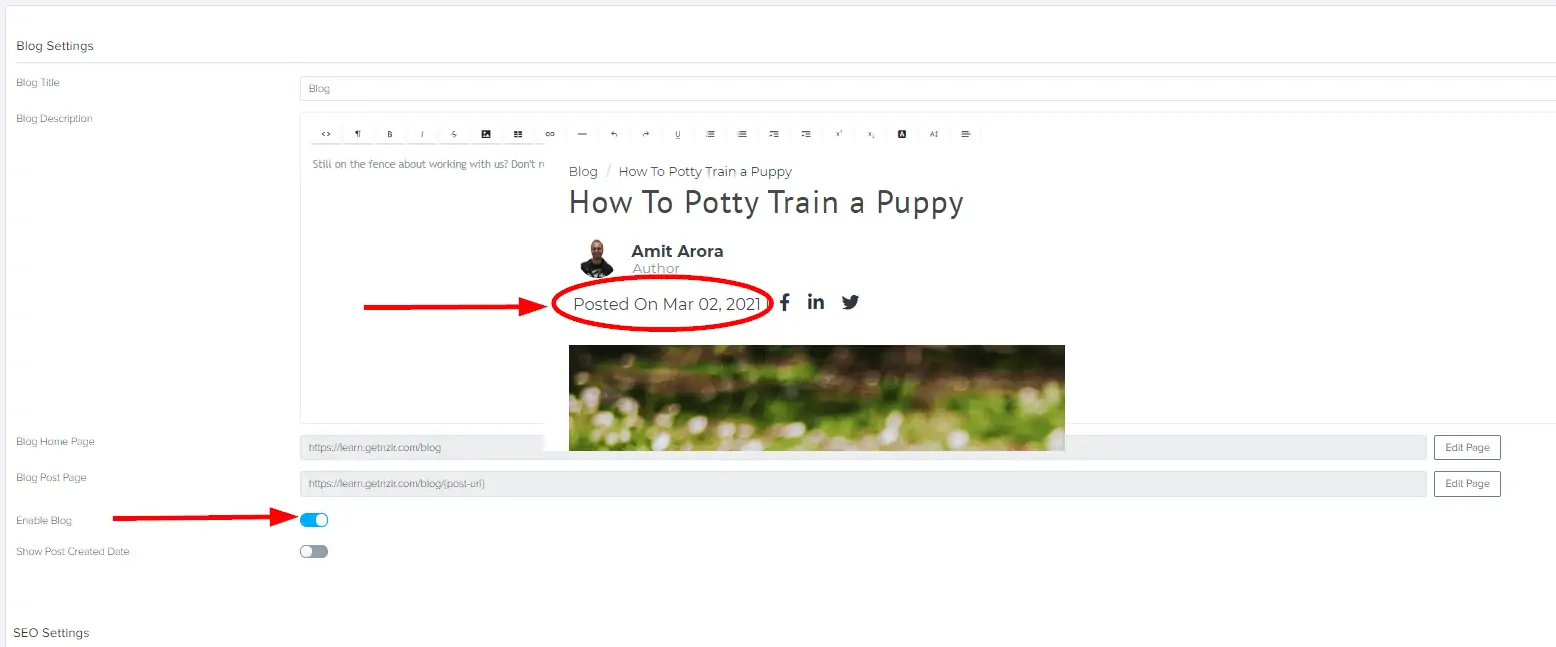
Let's take a look at these settings and understand them a little better.
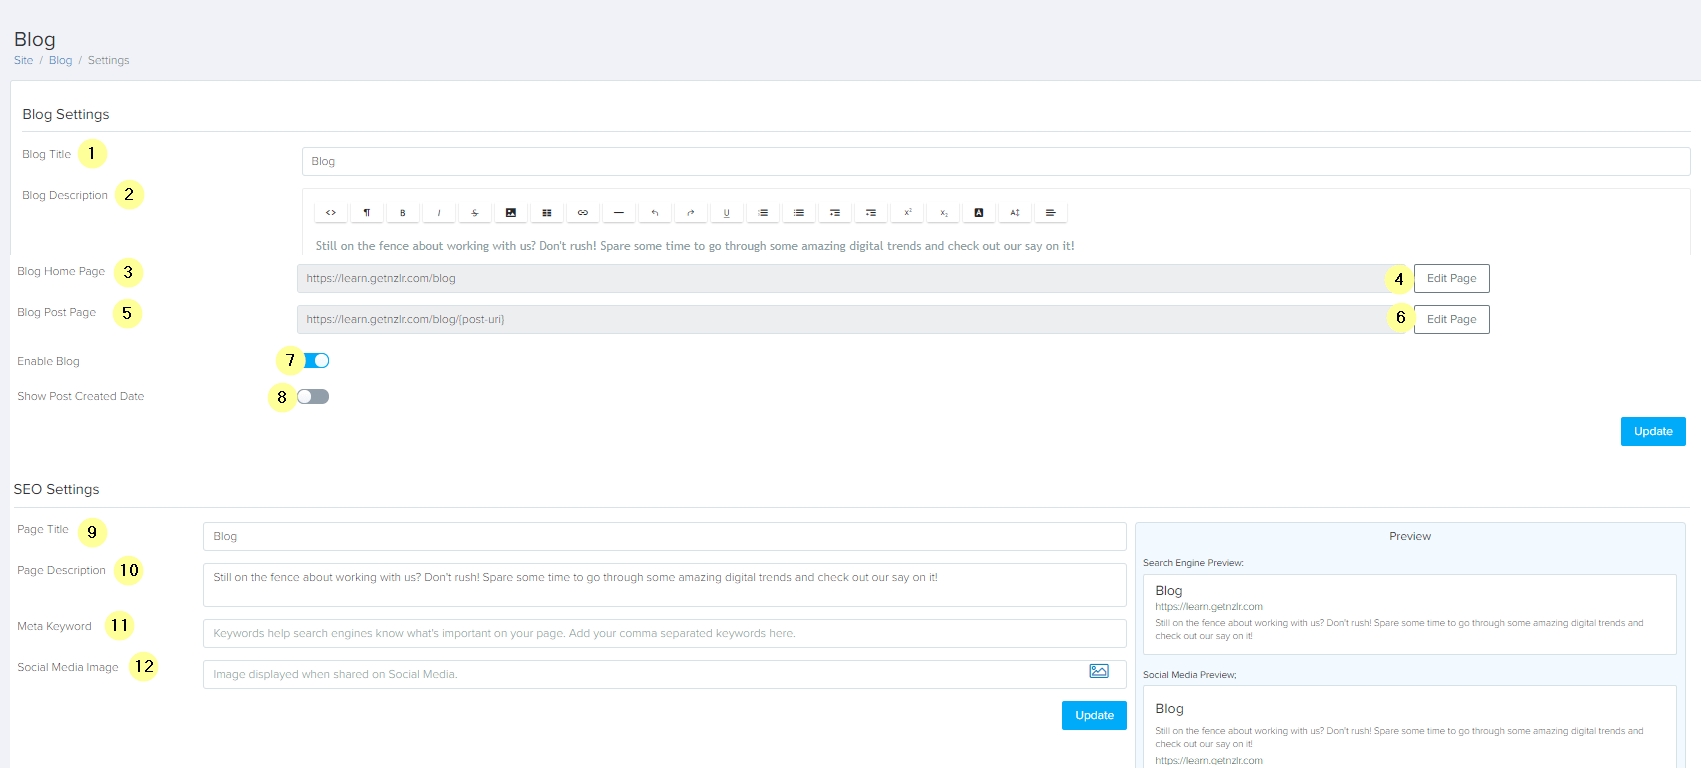
Blog Settings
Note: Blog settings are a one time thing. Once you've done the initial set up, you should be able to move on to writing your blog posts.

- 1Blog Title: This will be the title of your blog. For example: Dog Walking
- 2Blog Description: A descriptive line or two about your blog. For example: Your go to source for all dog walking tips and tricks.
- 3Blog Home Page: This will be the blog home page that your visitors will see. Your school school URL will automatically get appended with /blog once you enable blog.
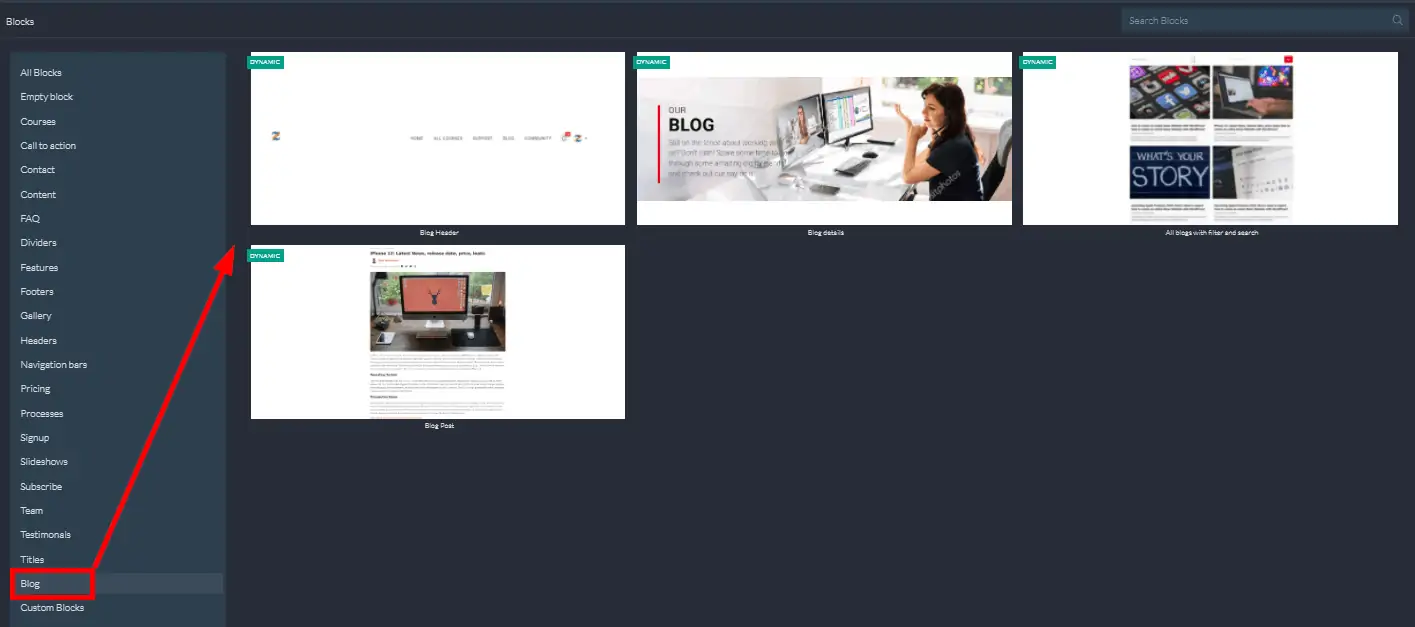
- 4Edit Blog Home Page: This is how you can edit your blog home page look and feel. Apart from the standard blocks that you have full access to, you will also be able to pull in some dynamic blocks made specifically for blogs.
Recommended Read: How to enable blog comments in Zenler

- 5Blog Post Page: This is the URL for your individual blog posts. The actual URL for each blog post will be dynamically populated with the {post-url} tag.
- 6Edit Blog Post Page: This will allow you to edit the page for individual blog posts. So if you make a change here it'll inherently affect ALL blog posts.
- 7Enable Blog Toggle: Use this toggle to enable or disable your blog.
- 8Show Post Created Date: When enabled, all blog posts will show the date that post was published.

Show post Created Date - Toggle setting for your blog
SEO Settings
SEO - Search Engine Optimization.
This is where you control what your blog title and description will look like on Search Engines like Google and also Social Media platforms.
Recommended Read: How to set social media footer icons
- 9Page Title: This will be similar to your Blog Title.
- 10Page Description: This will be similar to your Blog Description.
- 11Meta Keyword: This is where you will define keywords for your blog. For example: if your blog is about photography, you will include photography related keywords in your Meta Keyword. Remember to separate your keywords with a comma e.g. Photo, Photography, Outdoor Photo, etc.
- 12Social Media Image: As the name suggests, this is where you set what image gets shown whenever your blog link is shared on a social media platform.
Step 4 > Writing the blog
Now that the blog settings are taken care of, it's time for some fun. Let's take a look the process of writing the blog post.
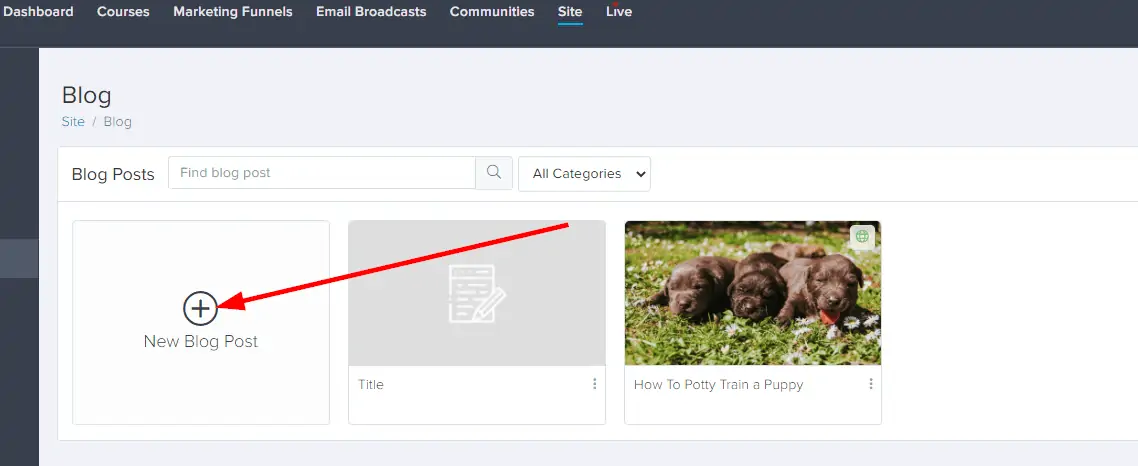
Step 1: Click on New Blog Post button

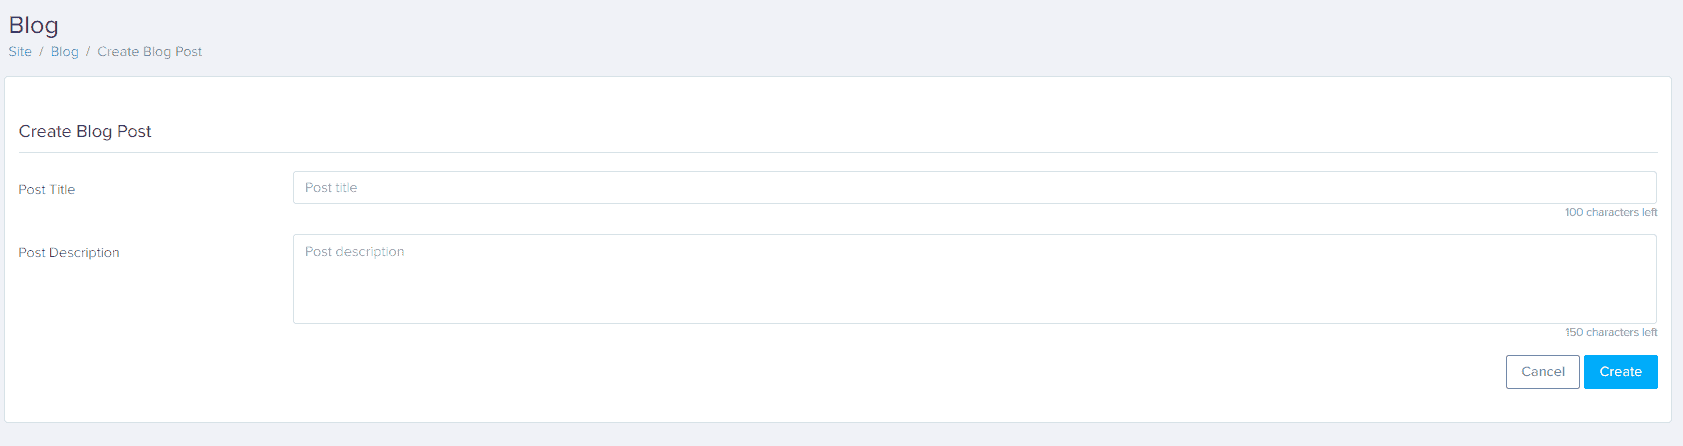
Step 2: Insert Post Title and Description

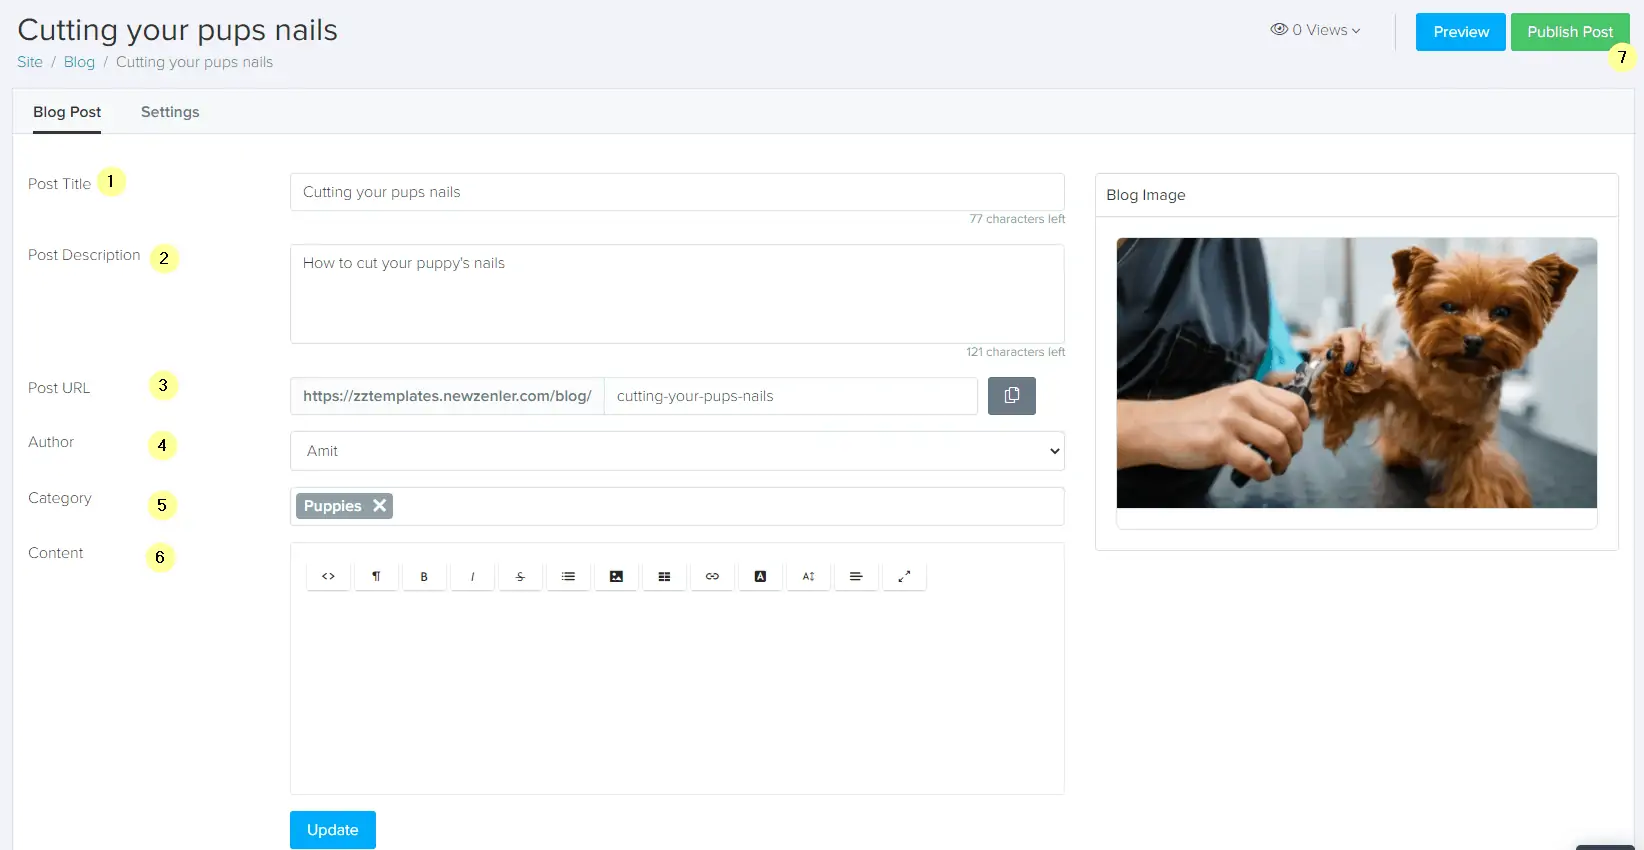
Step 3: Author, Category, Content and, Image

When publishing a blog post, you'll be prompted to pick the Author name, a category for the blog, feature blog post image and the actual content for the block.
The content editor is unfortunately pretty lack luster in comparison to the actual page editor that New Zenler provides for all other pages.
I would have expected to see the same editor here, but for this first iteration that doesn't seem to be the case.
Join New Zenler
Full featured free trial. No Credit Card Required. Create your free school today!
However, it does get the job done and cut your dependency from a third-party blogging platform such as WordPress.
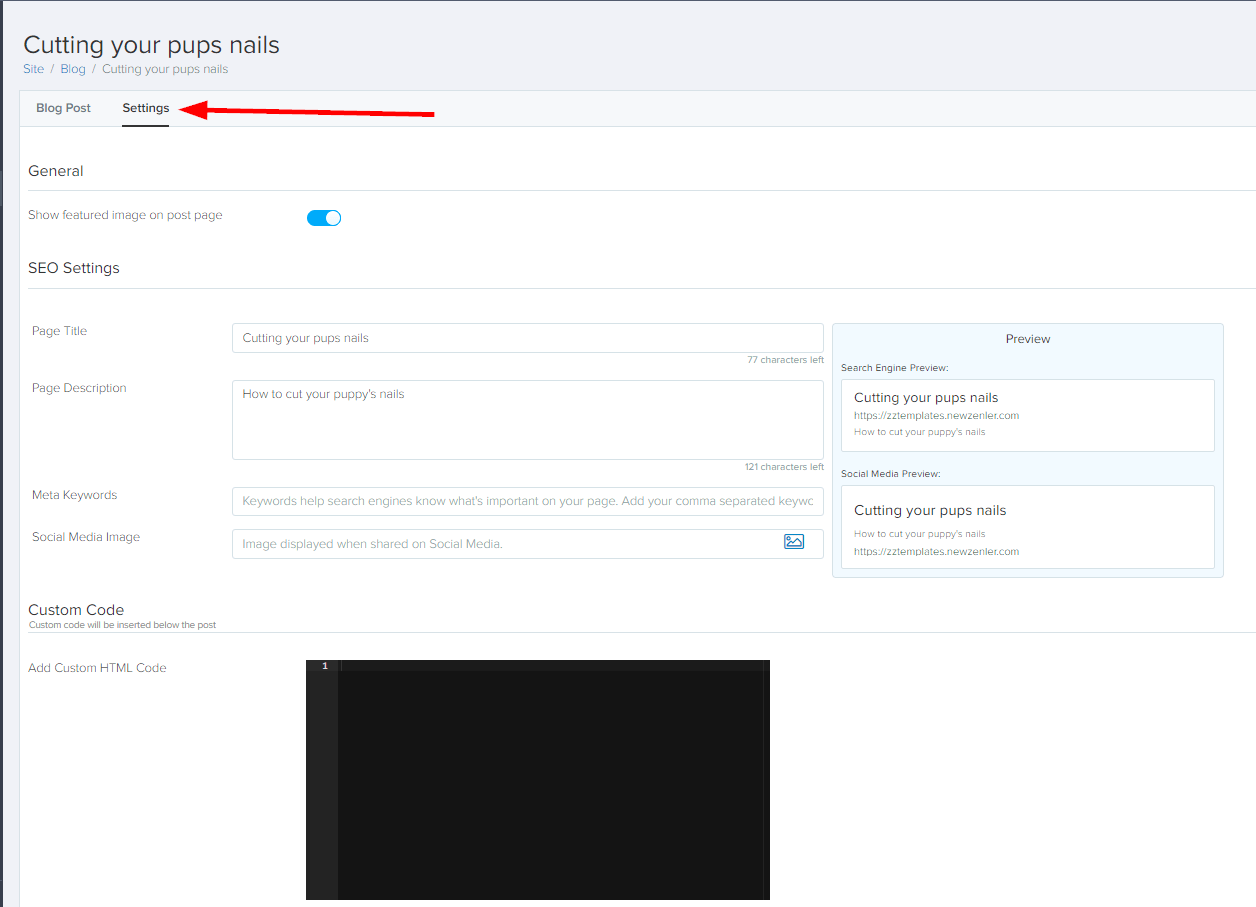
Step 4: Individual post settings

There are a few more things you'll need to check under the Settings tab for individual blog posts.
Custom HTML code allows you to add discussions to your blog posts. You can use this HTML code section to add discussions to your blog posts.
Conclusion
Overall New Zenler has done a decent job at this first iteration of introducing blogging on the platform. I'm hoping the coming updates will take care of some of the pains such as:
- Full page builder same as course pages
- Adding in-line discussions using the standard community functionality
- Analytics on blog visitors
- Pop-ups within blog posts to convert visitors
- Locking of blog posts for course students