


How to set-up 1:1 meetings in New Zenler
In this tutorial let us see how to set-up 1:1 meetings in New Zenler.
There are two step in this process. The first one is creating a google form which people can fill in before booking an appointment with you. The second step is adding a Calendly appointment page in New Zenler.
Creating a course for the one on one Call
Let us first create a course in New Zenler, which we will use for the one on one appointment booking.
Creating a course
Go to the admin dashboard of your New Zenler school, click on courses from the top panel. click on create course from the bottom section.

Put in the Course name and other details and click on save.
Here we are giving the course name as "One on One Call" and also a suitable subtitle for the course.

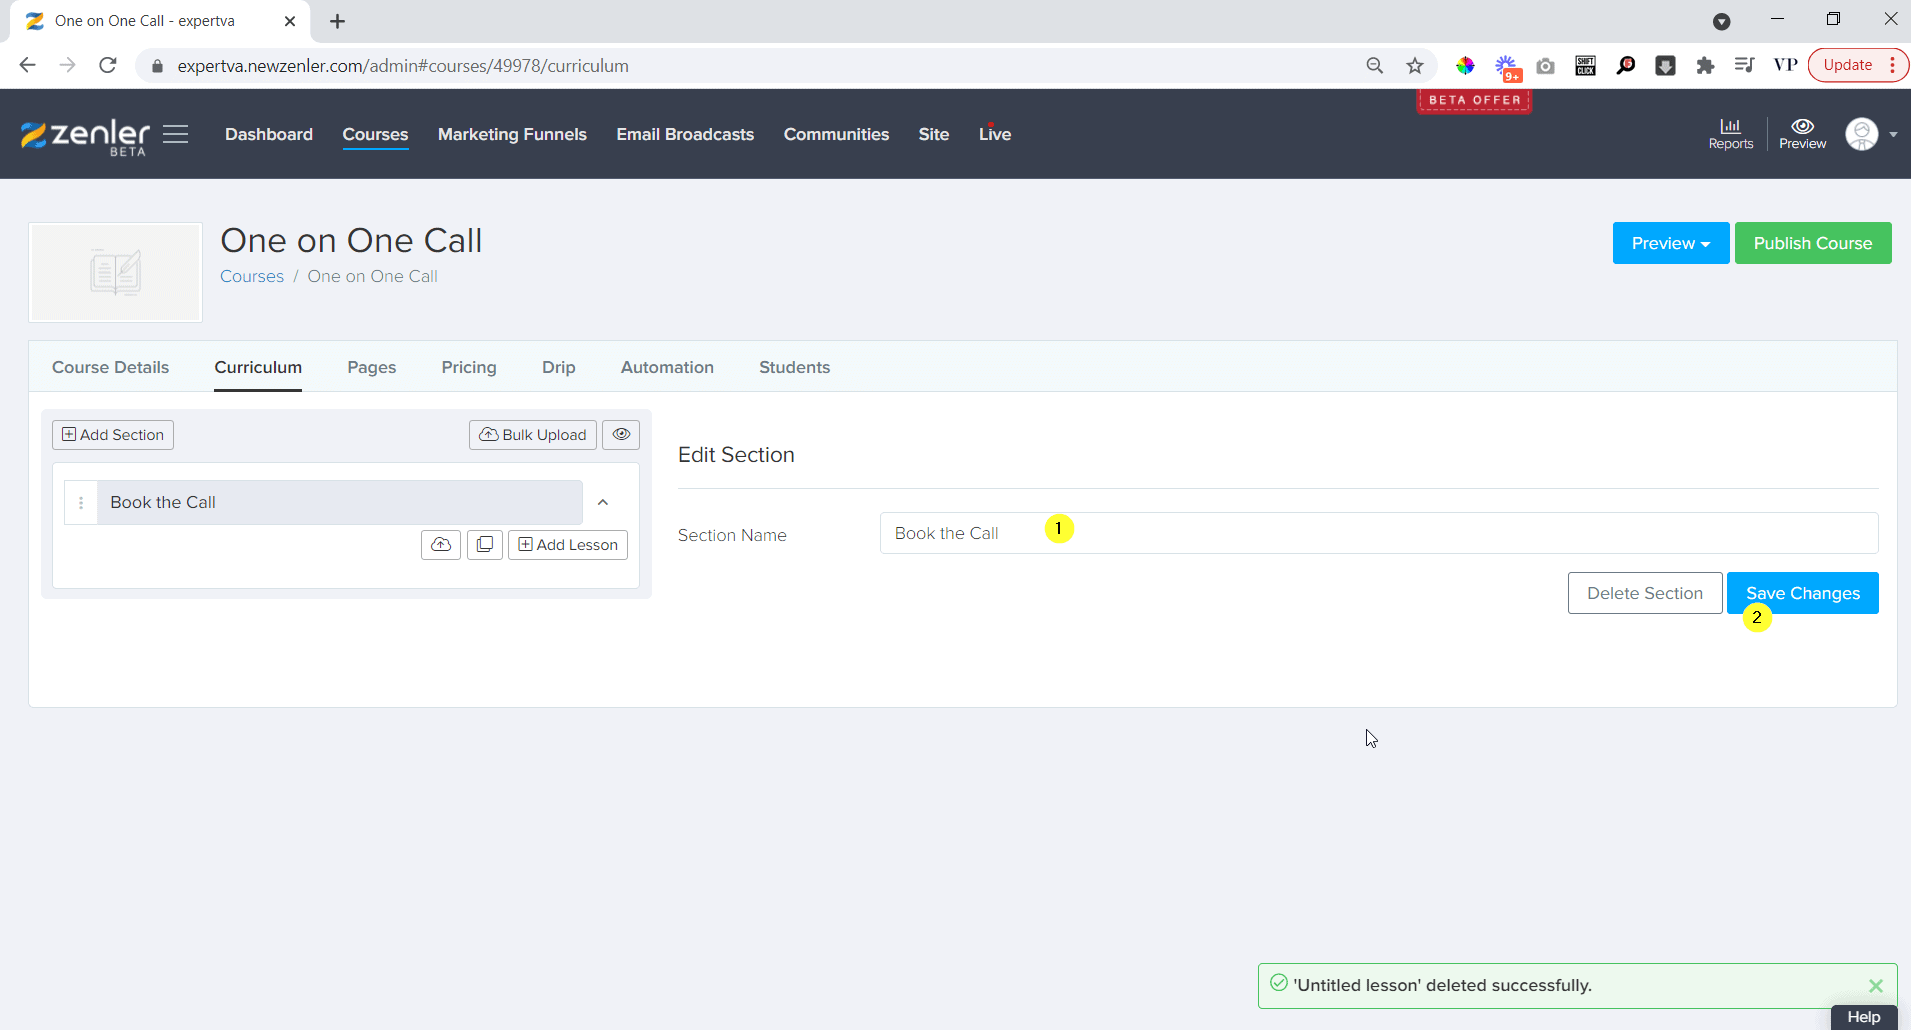
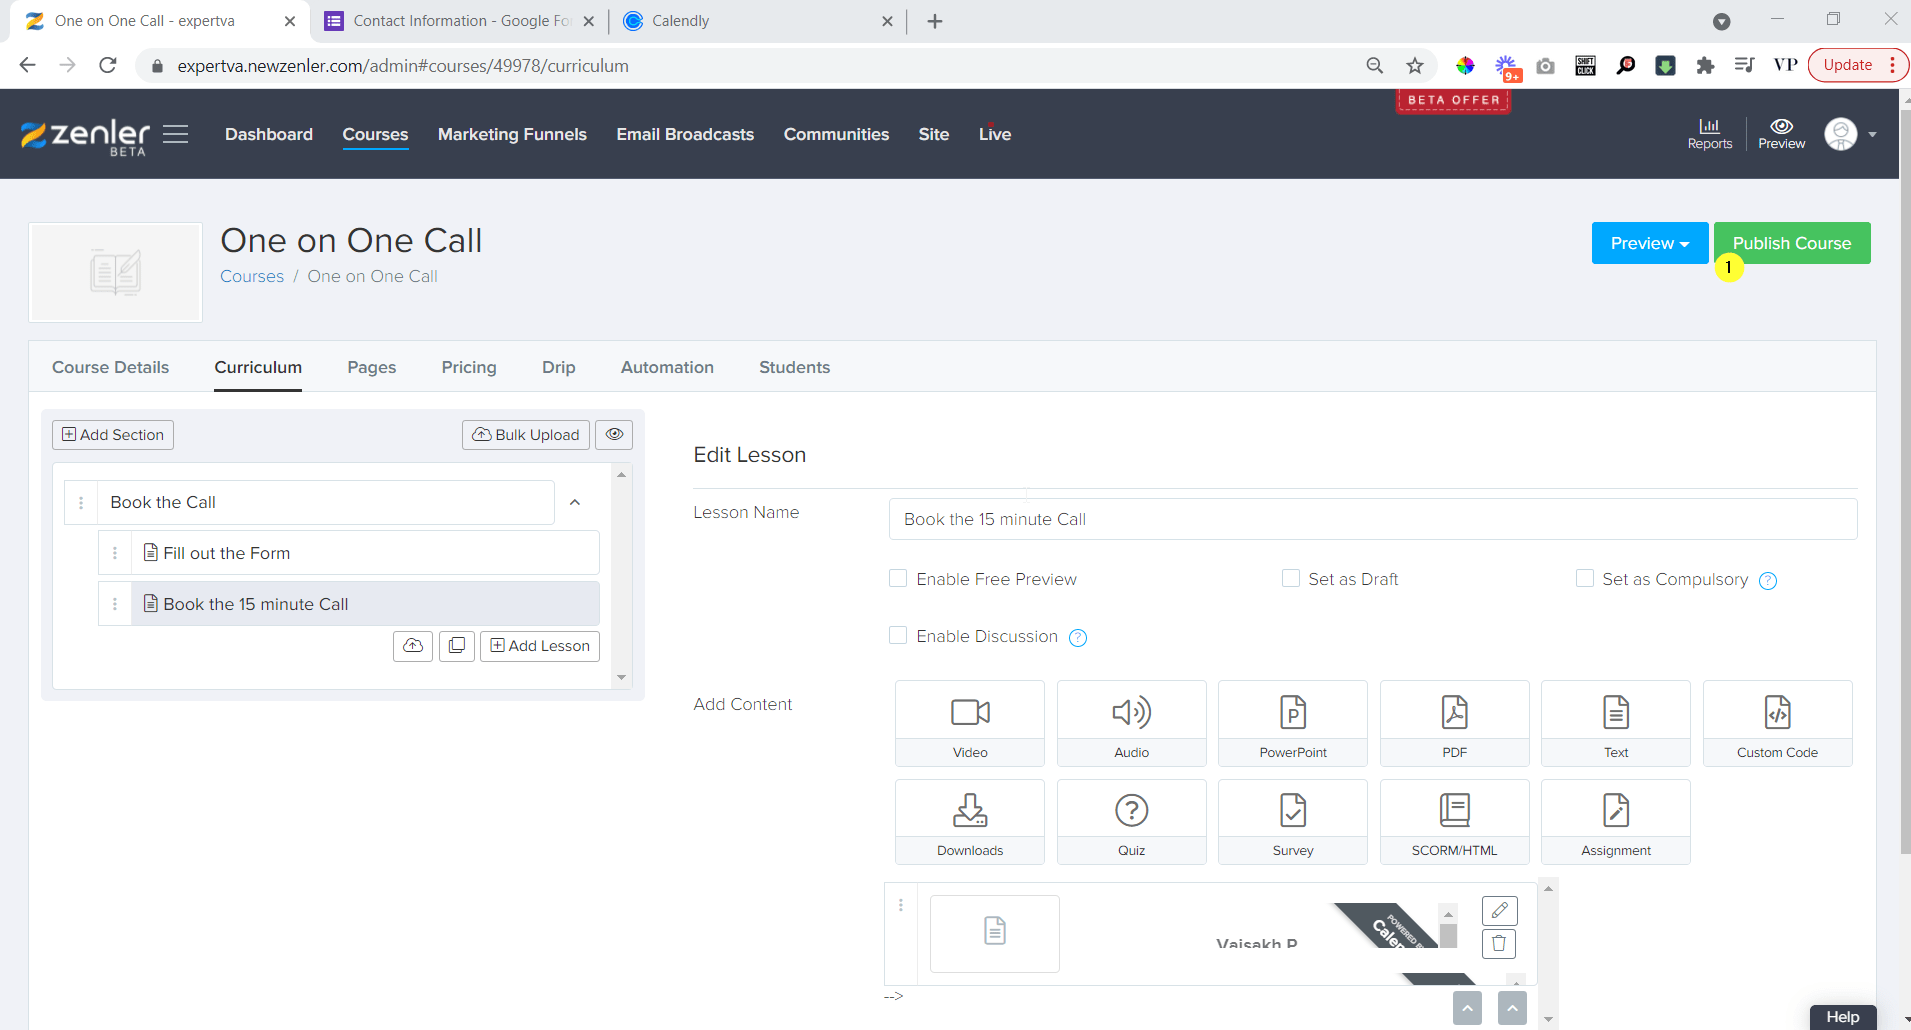
Once the course is created and the course editor comes up, change the name of the first section from "Untitled Section" to a more suitable one like "Book the Call"

Adding lessons to the course
Since there are two steps in this course (The google form part and the appointment booking part), we have to create two lessons.
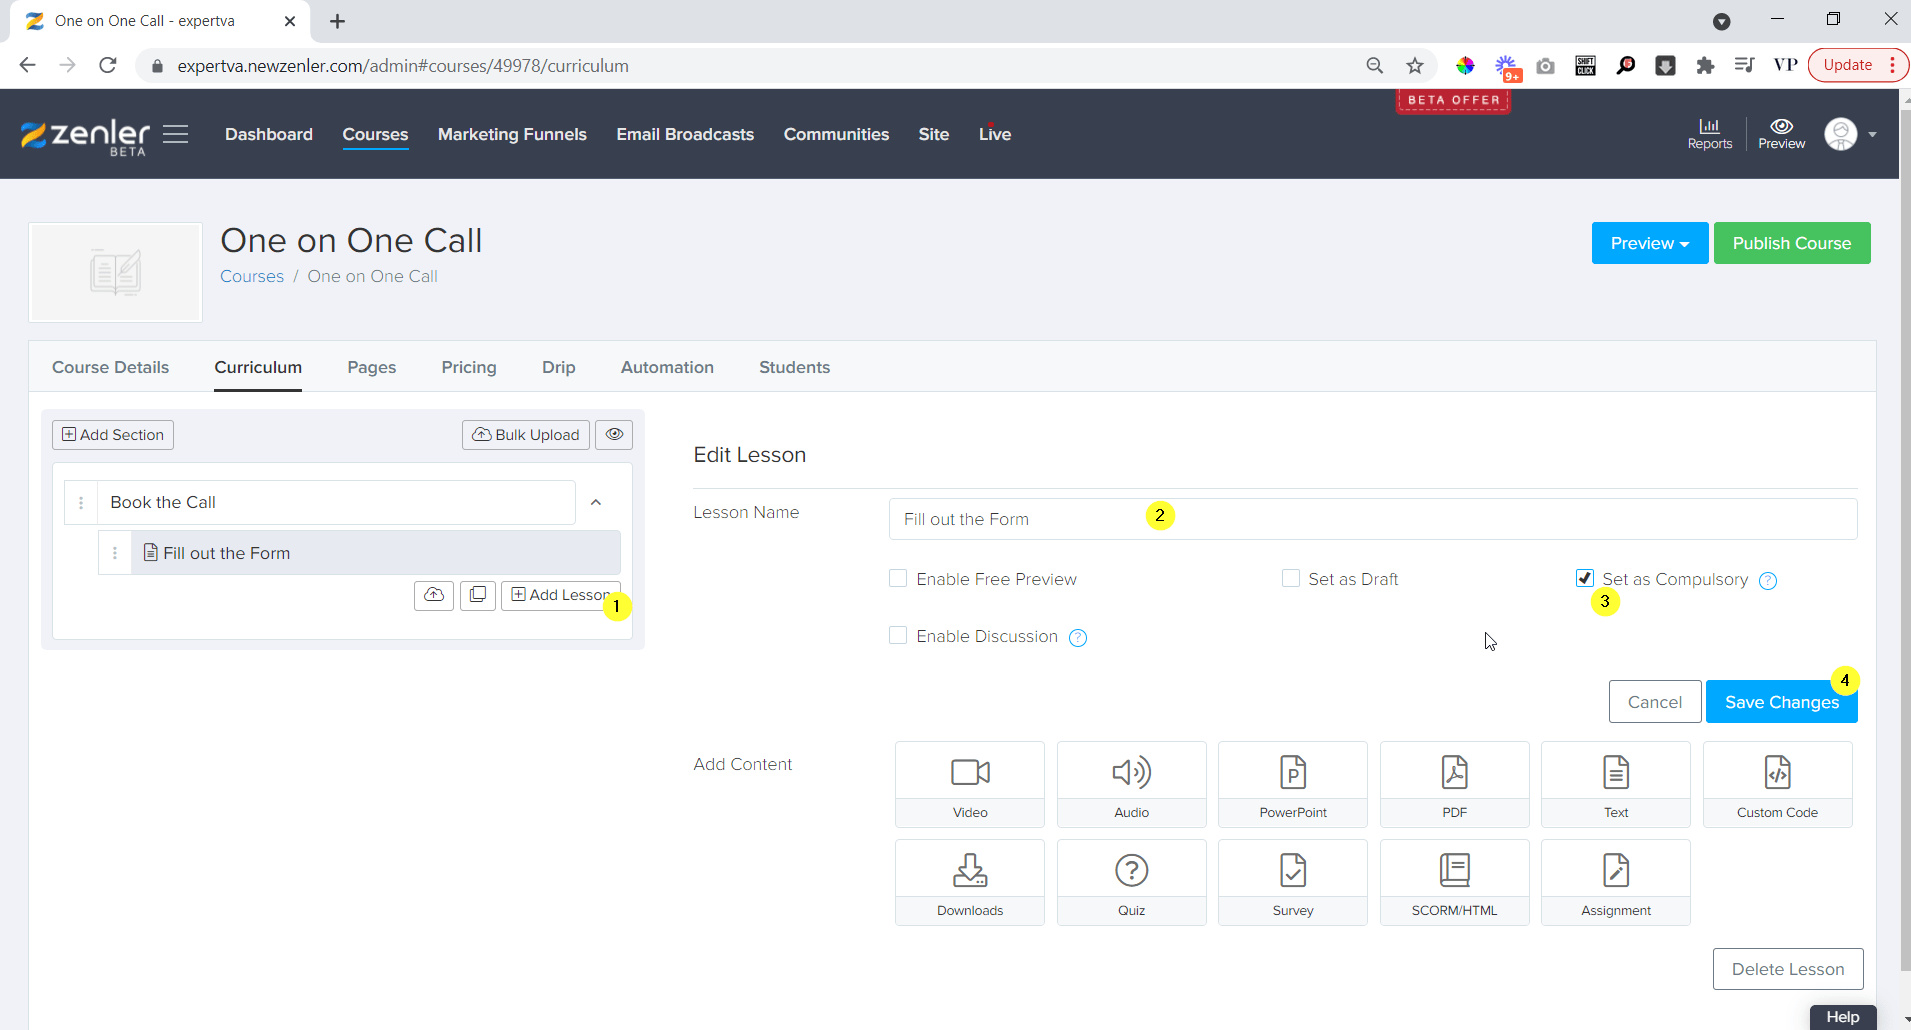
Click on the "Add Lesson" Button from the left to add a new button.

You can give a suitable name for the lesson like "Fill out the Form", then mark the lesson as compulsory and then click on save changes.
Similarly we can create another lesson for the Booking part.
We can give the lesson name as "Book the call" or something similar.

Now that the two lessons are created, let us create a google form to collect information.
Setting up the Google form to collect information
Adding the Google Form to course curriculum
For this part you will need to create a google form with all the relevant questions that you need the answers from the client.
If you don't know how to set up a google form, here is a video about Google Forms

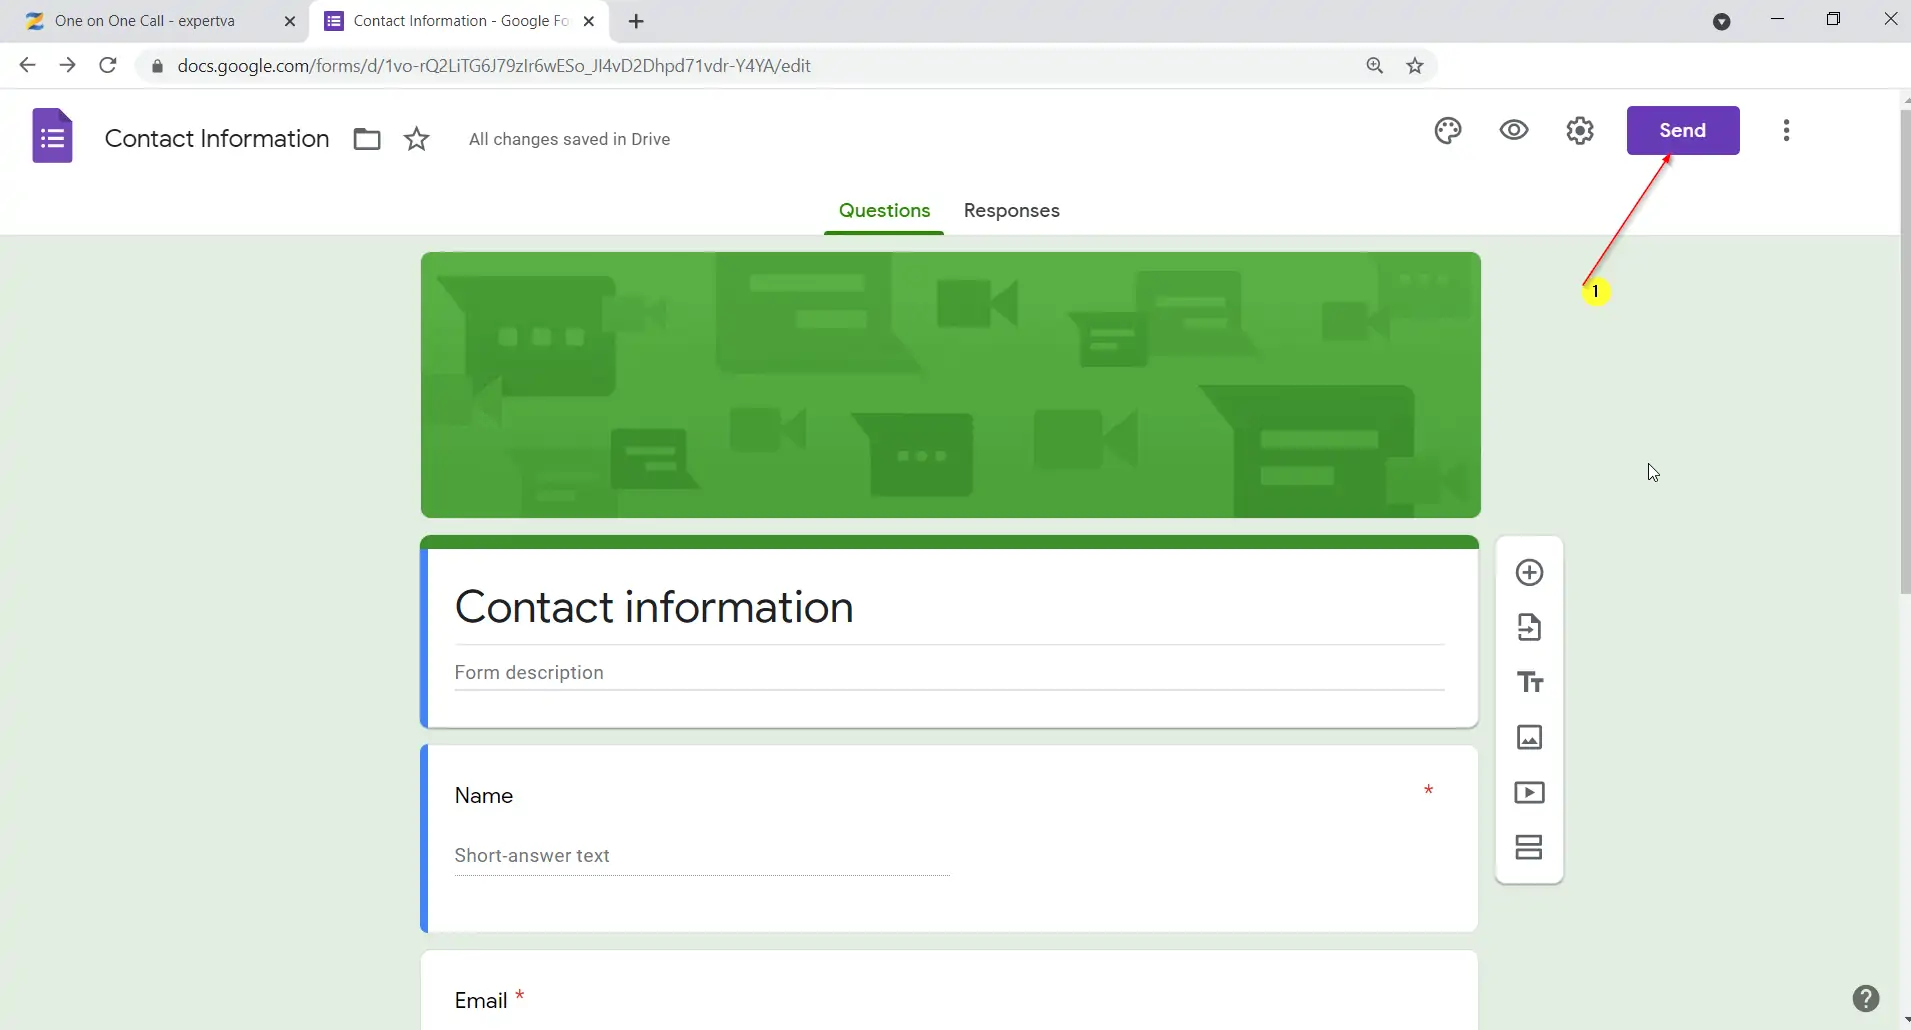
For the tutorial we have created a contact information form.
Once the form is ready, click "Send" from the top.
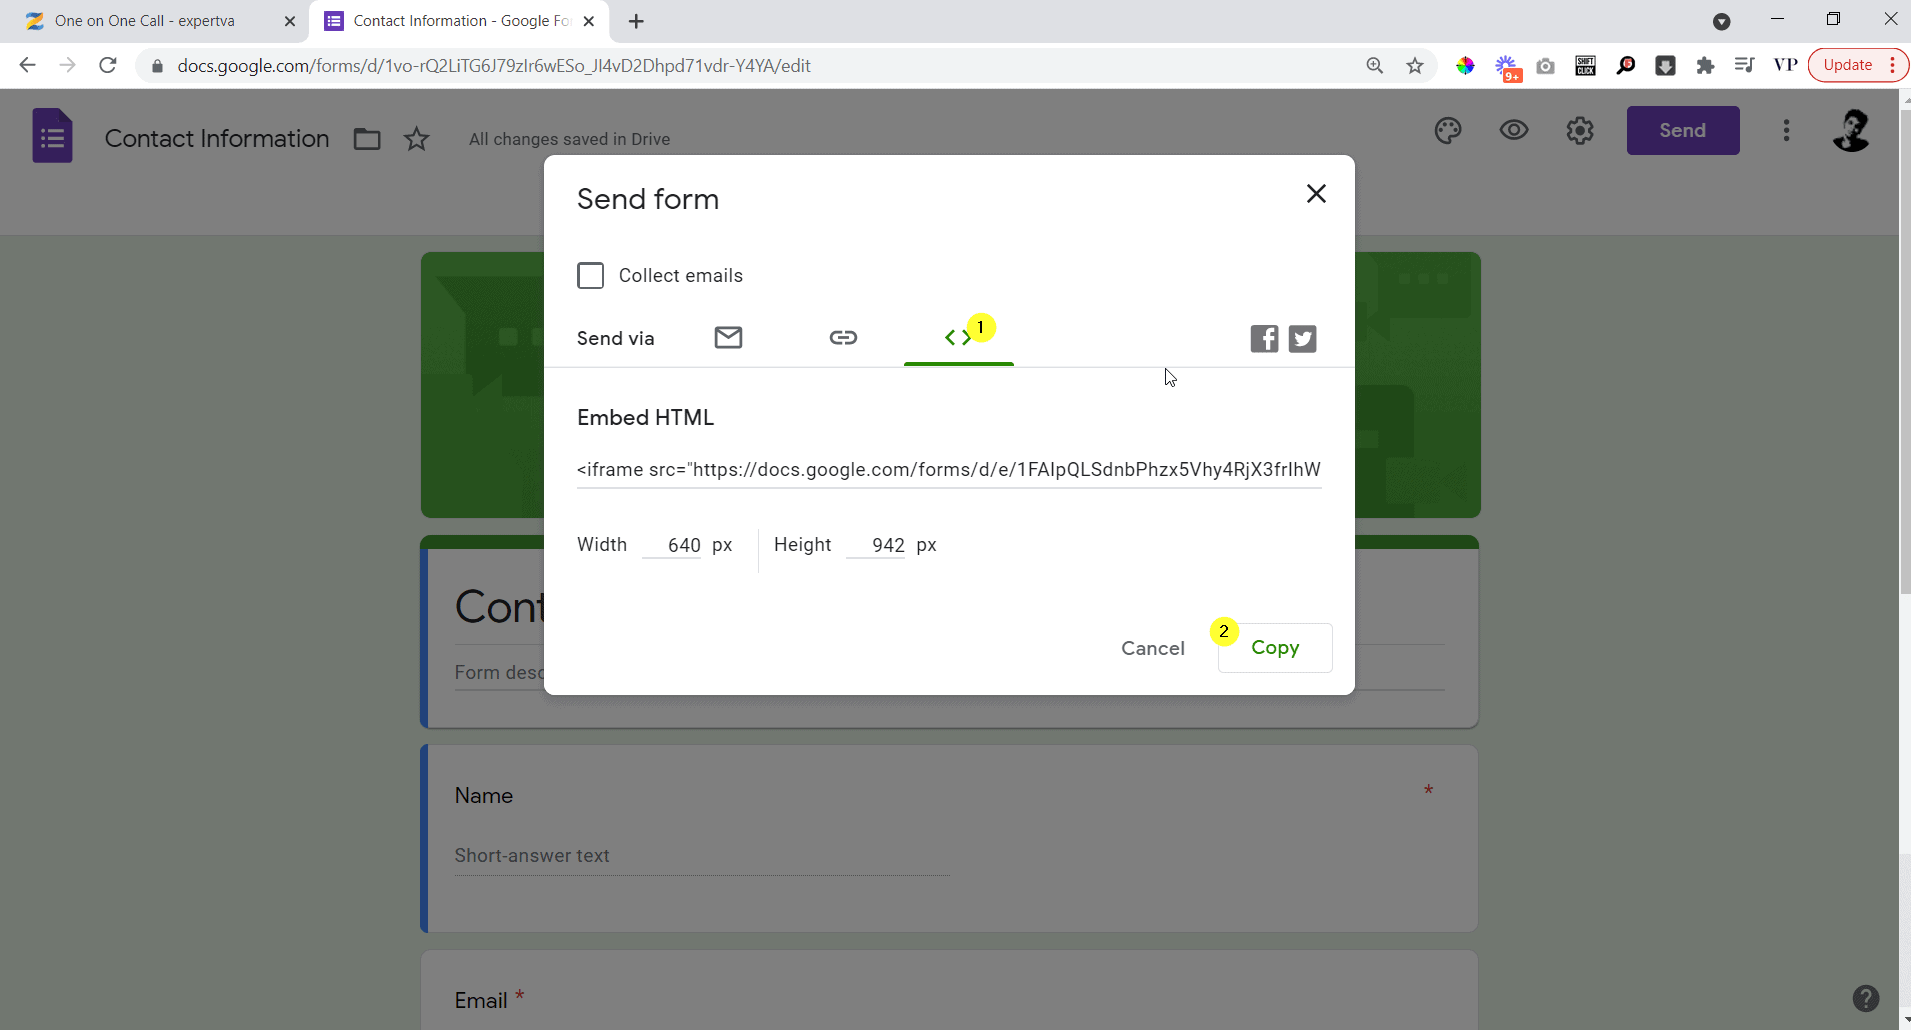
From the pop up click on the "Embed" Icon as Shown in the image below, and then click on "Copy" to copy the code.

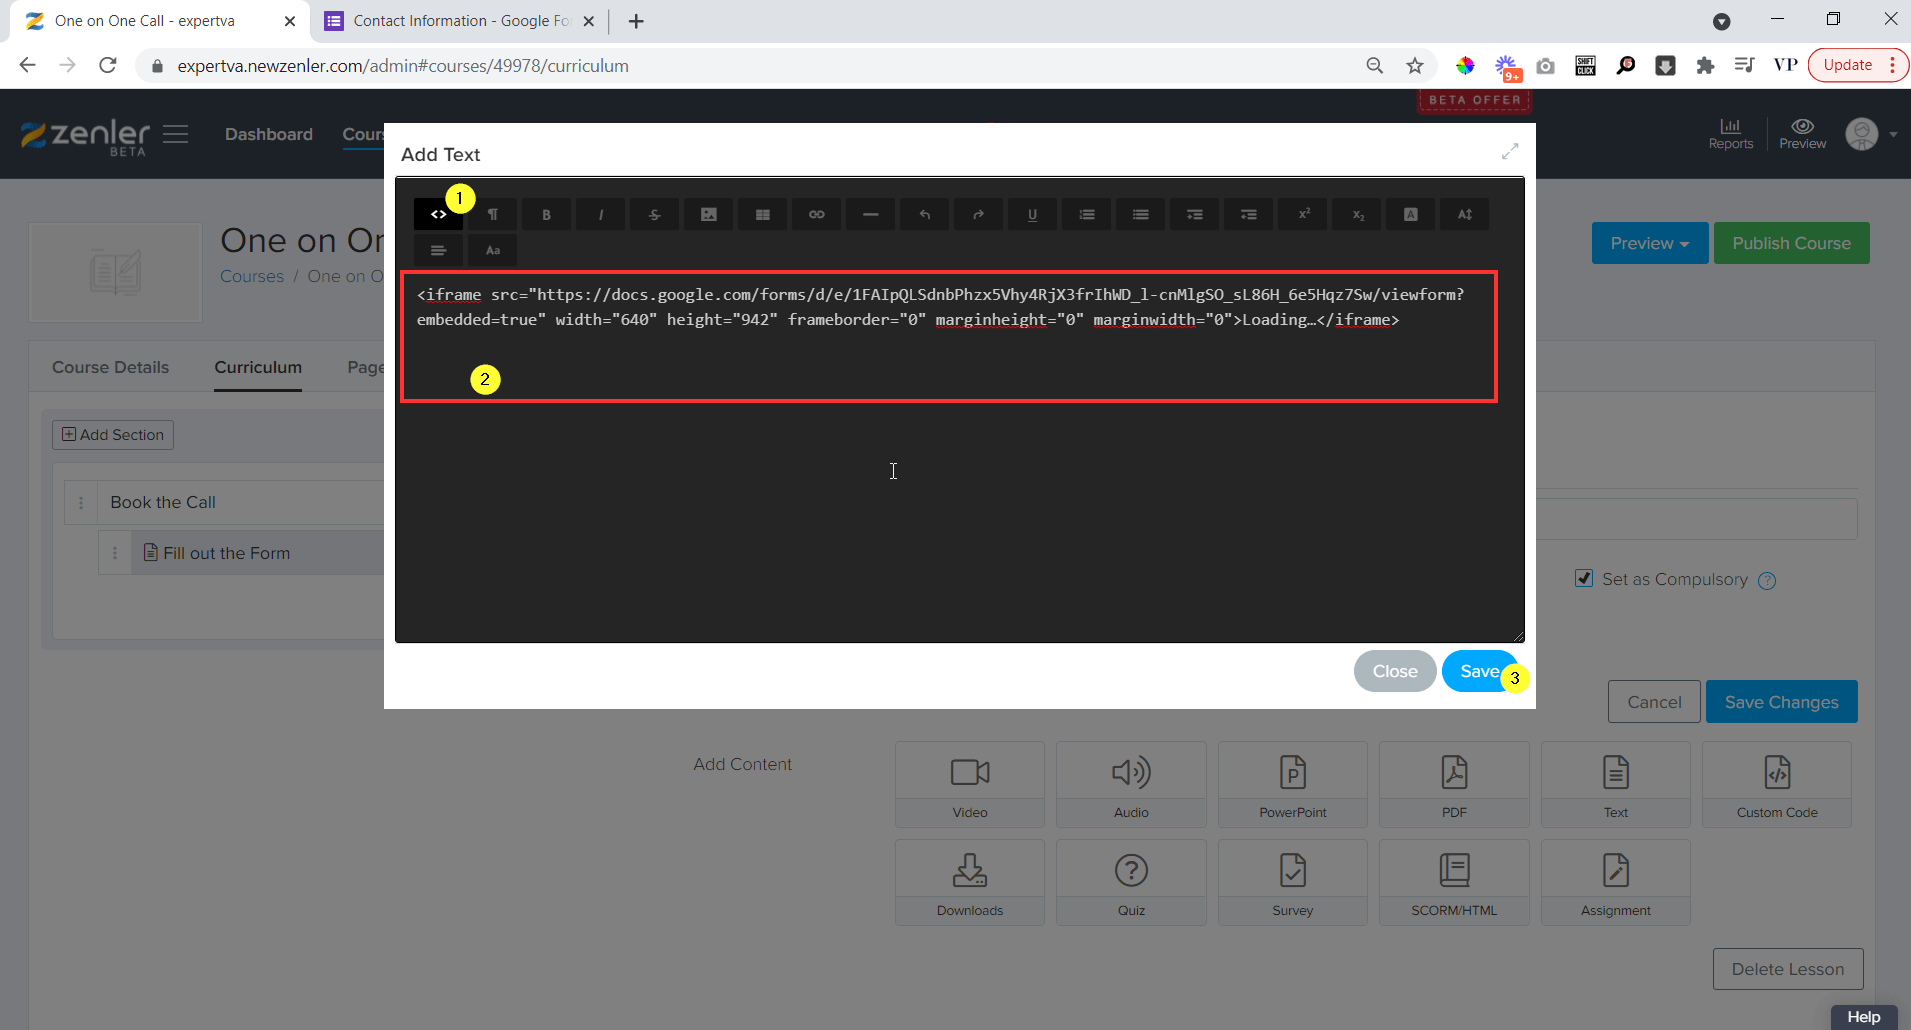
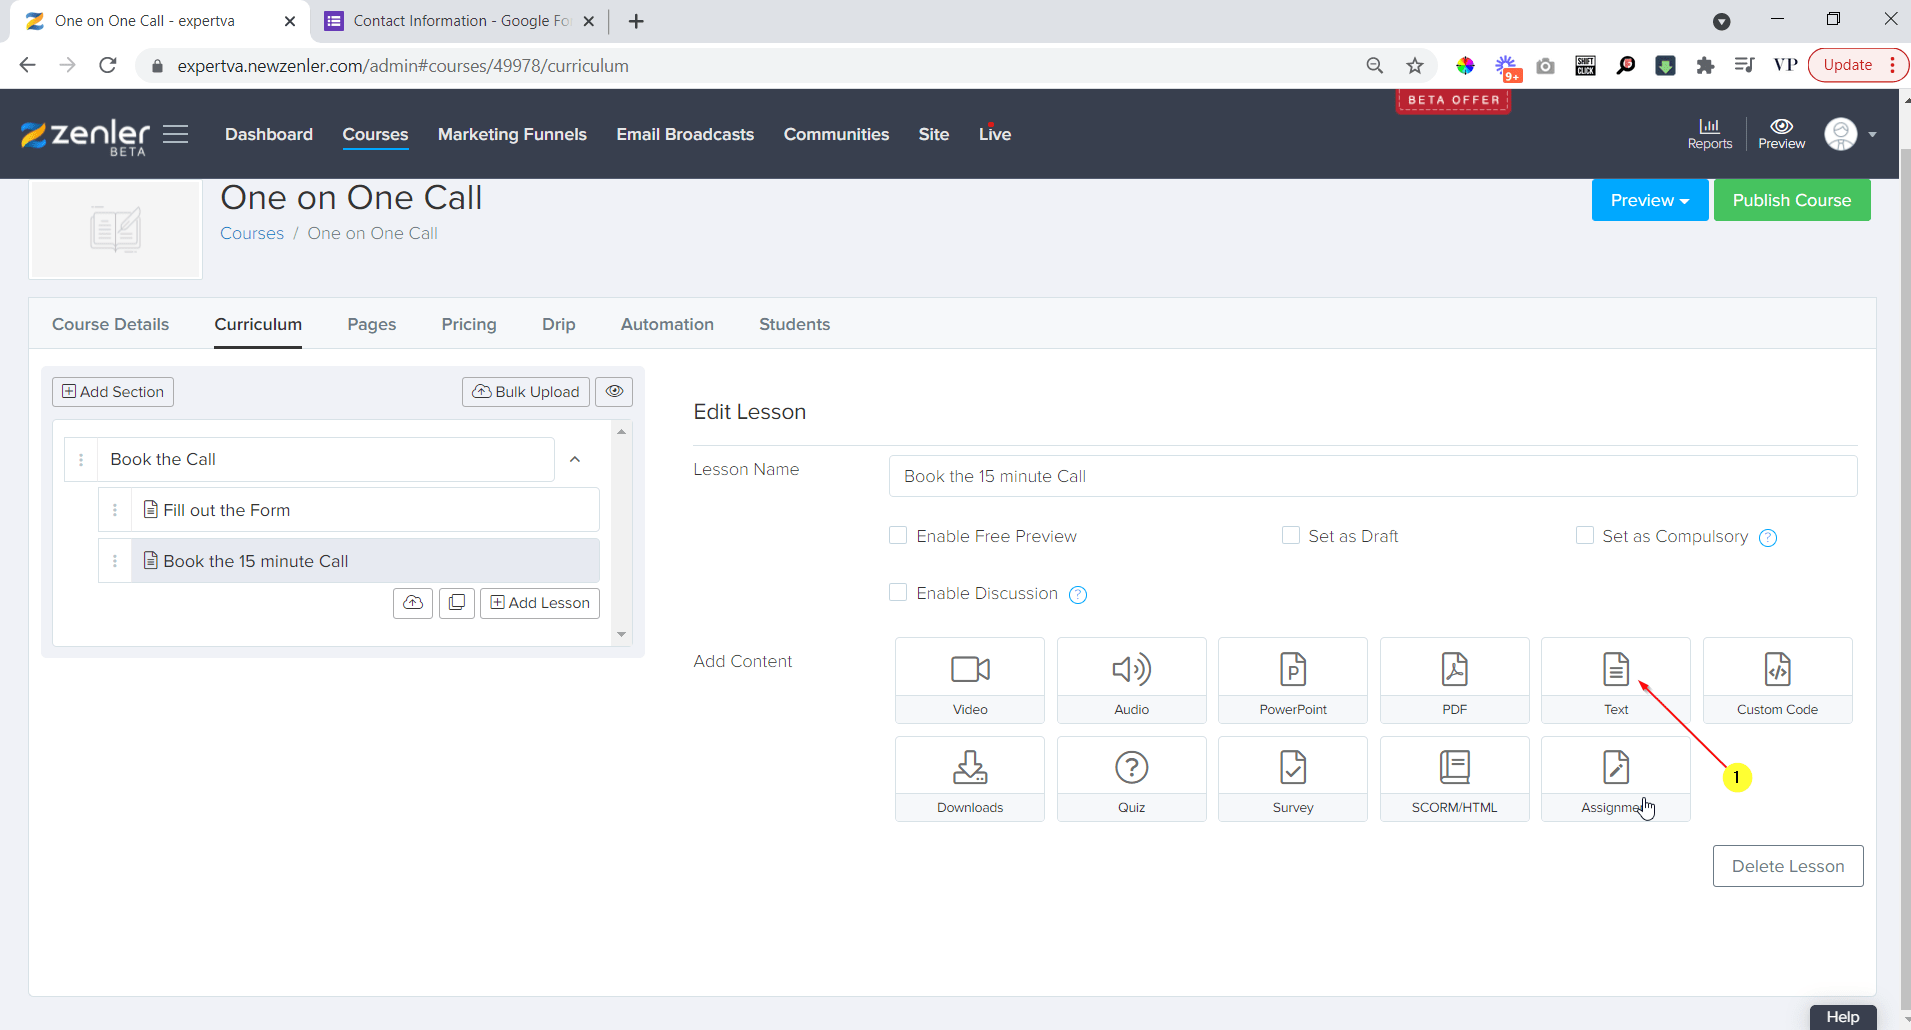
Once you copy the embed HTML code, go back to the first lesson of the course and click on "Text".

Now, open the HTML editor mode by clicking the "Code" icon at the top left and paste the code below. Once you have pasted the code click on save.

The first part of the booking process is done. Now let us set up a Calendly Event and add it to the second lesson.
Join New Zenler Through My Link To Get 10+ Amazing Bonuses.
Setting up Calendly event for Appointment Booking
Adding the Calendly appointment page to the course curriculum
For this part you need to set up a Calendly account and also an event for which people can book the session. If you are not aware of setting up an event on Calendly, watch this video on YouTube.
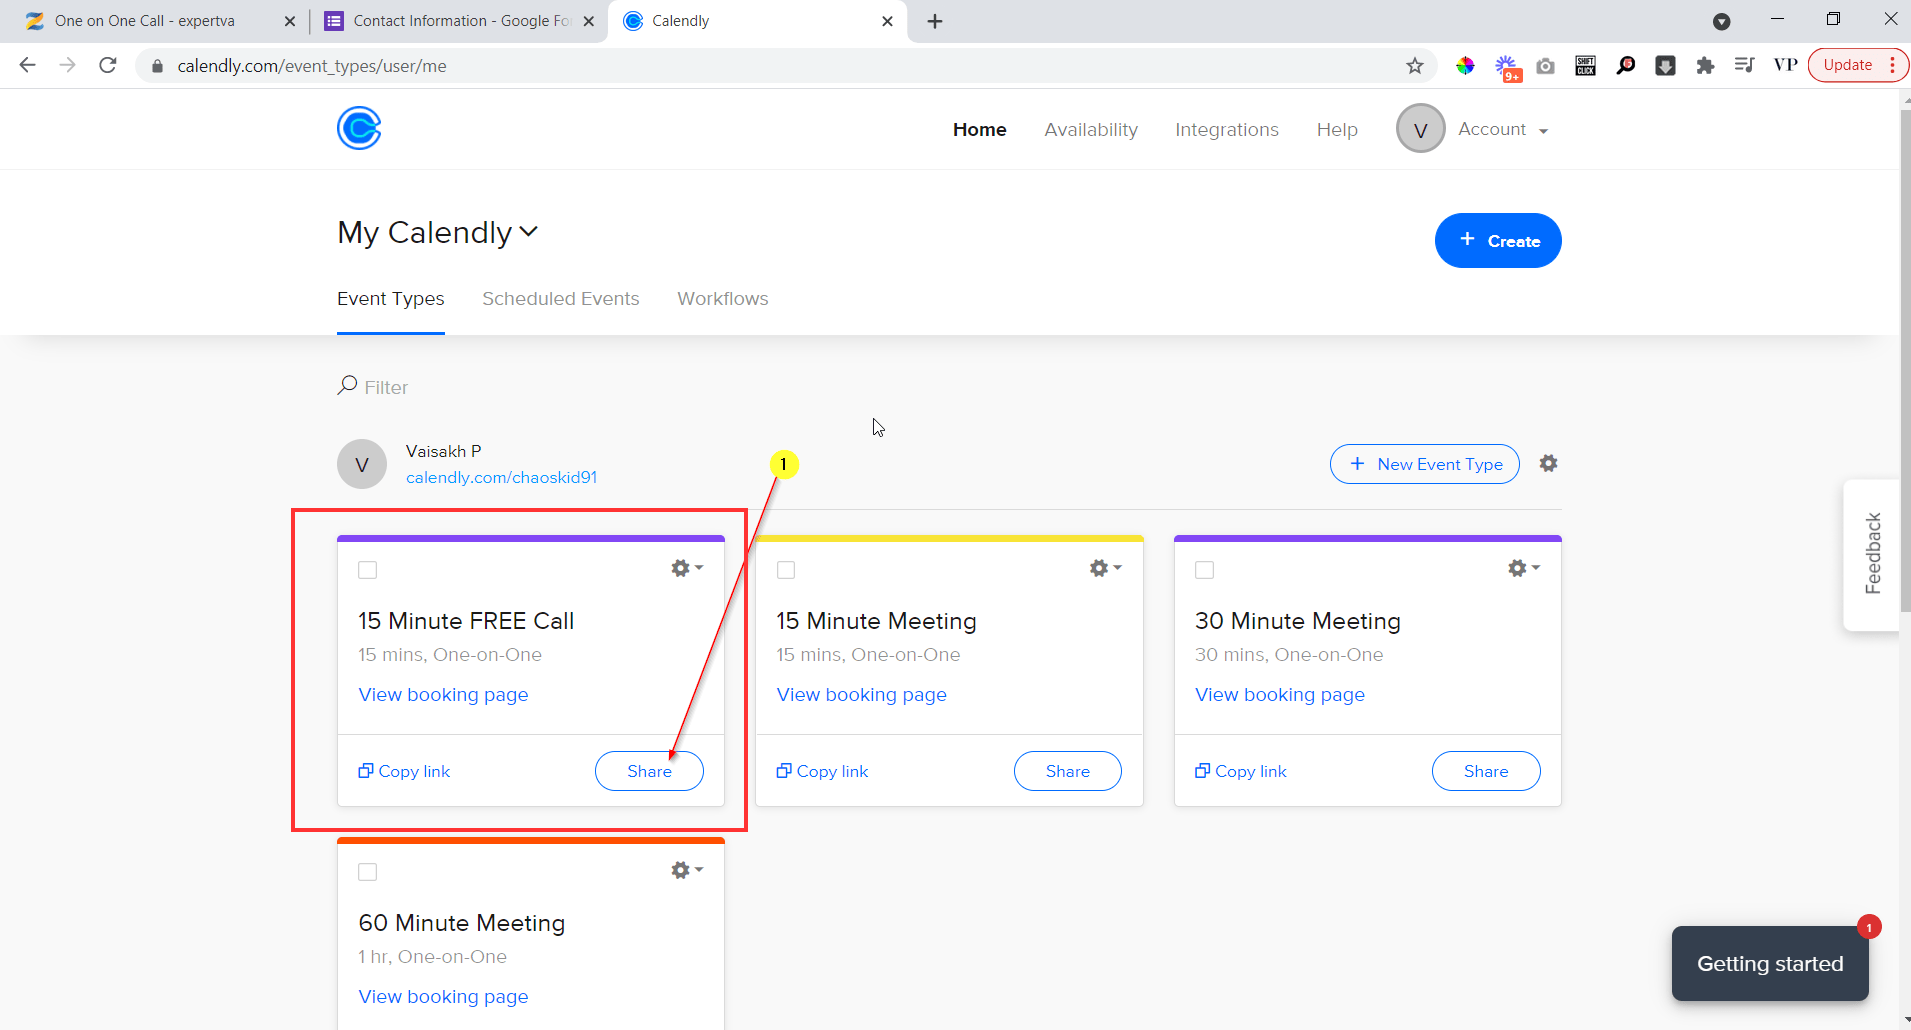
Once you have a Calendly event set up, click on the "Share" button for that particular event.

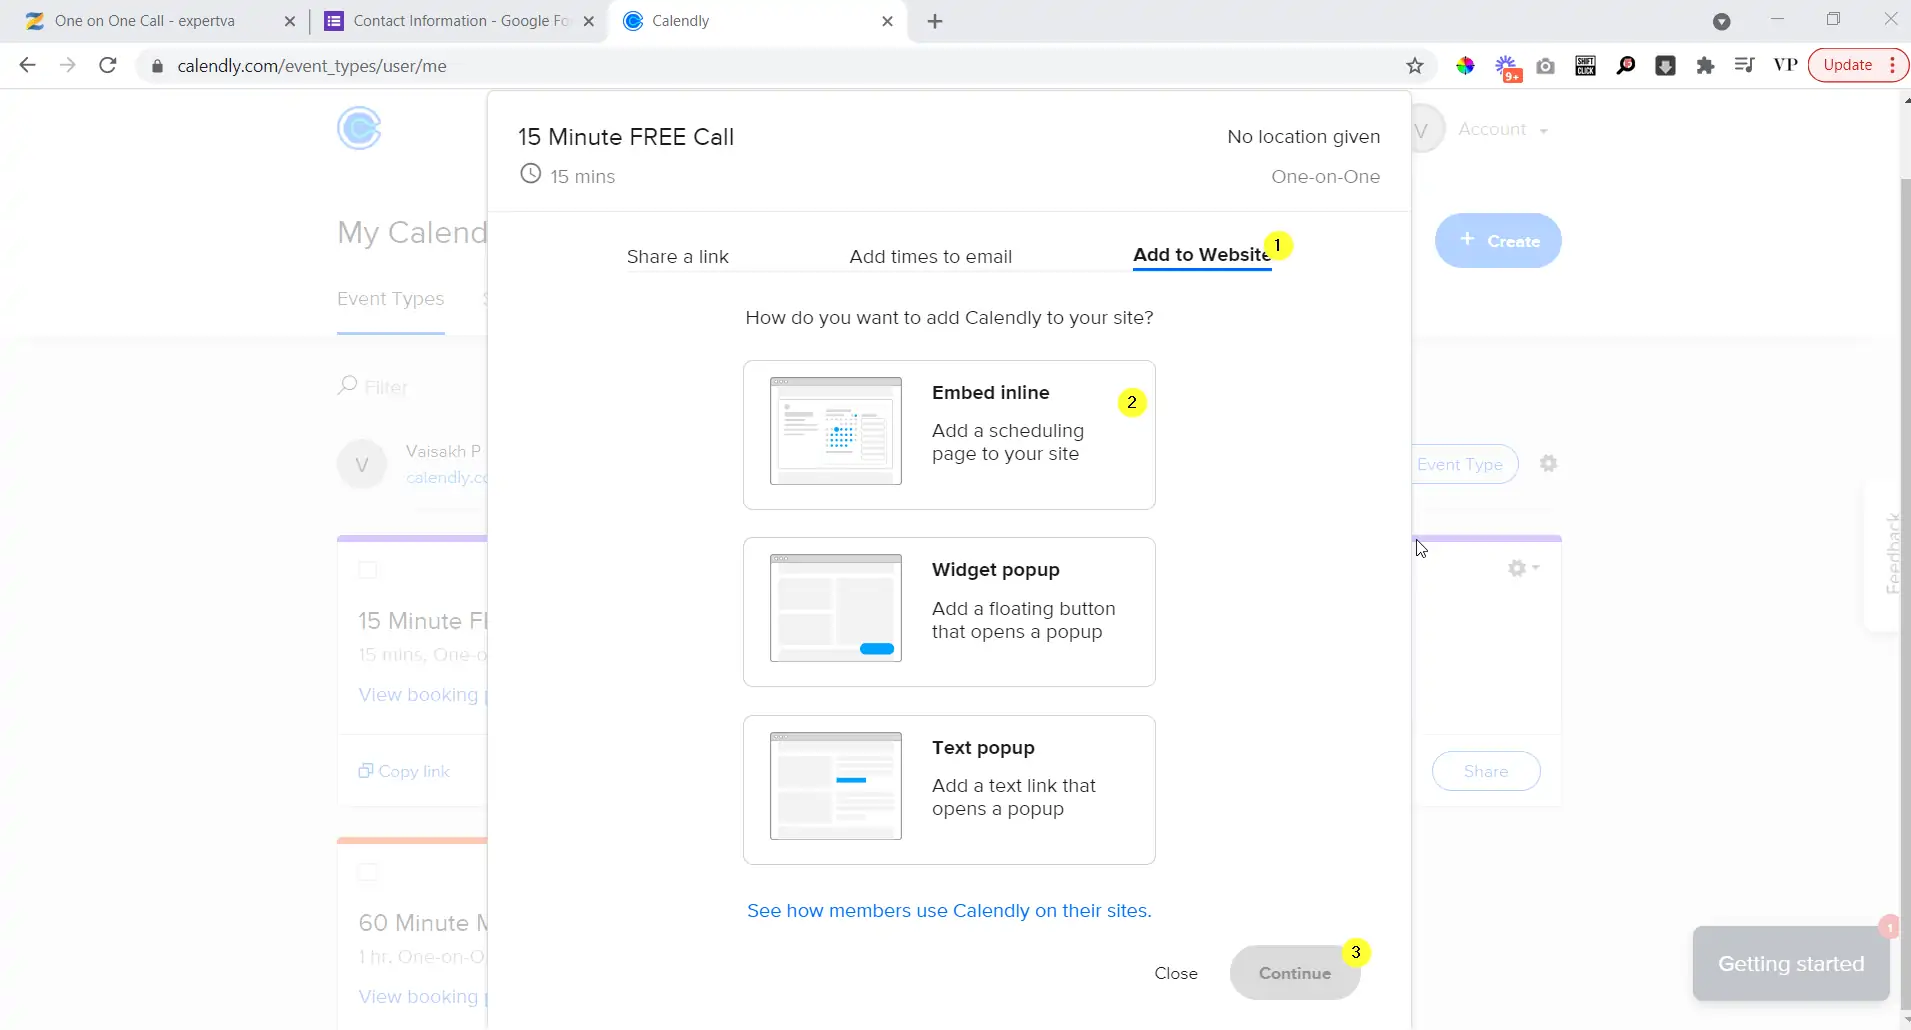
On the next step, select "Add to Website" option from the top and select the first option which says "Embed Inline", finally click on continue.

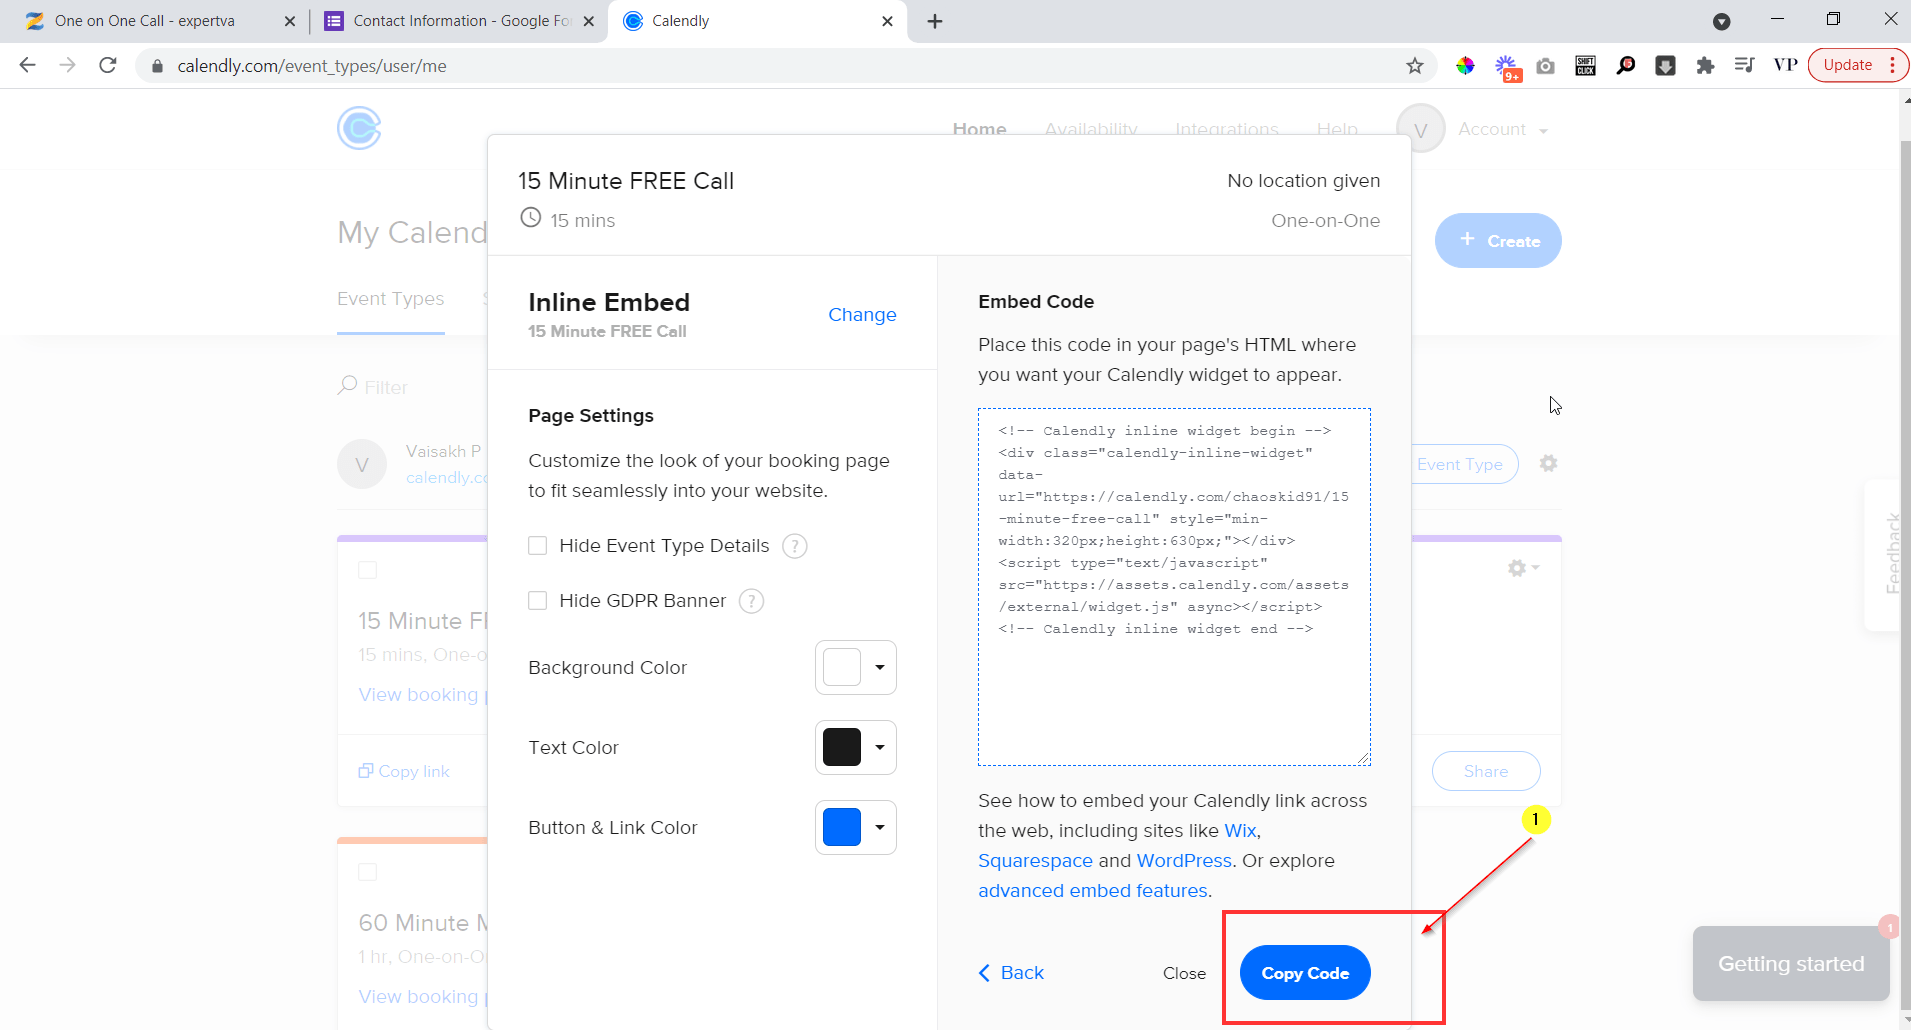
You can further customize the colors of the booking page and once you are done, click on "Copy Code"

Now go back to the second lesson on New Zenler and click on the "Text" option.

Similar to the first lesson, open the HTML editor from the top and paste the code and click on Save.

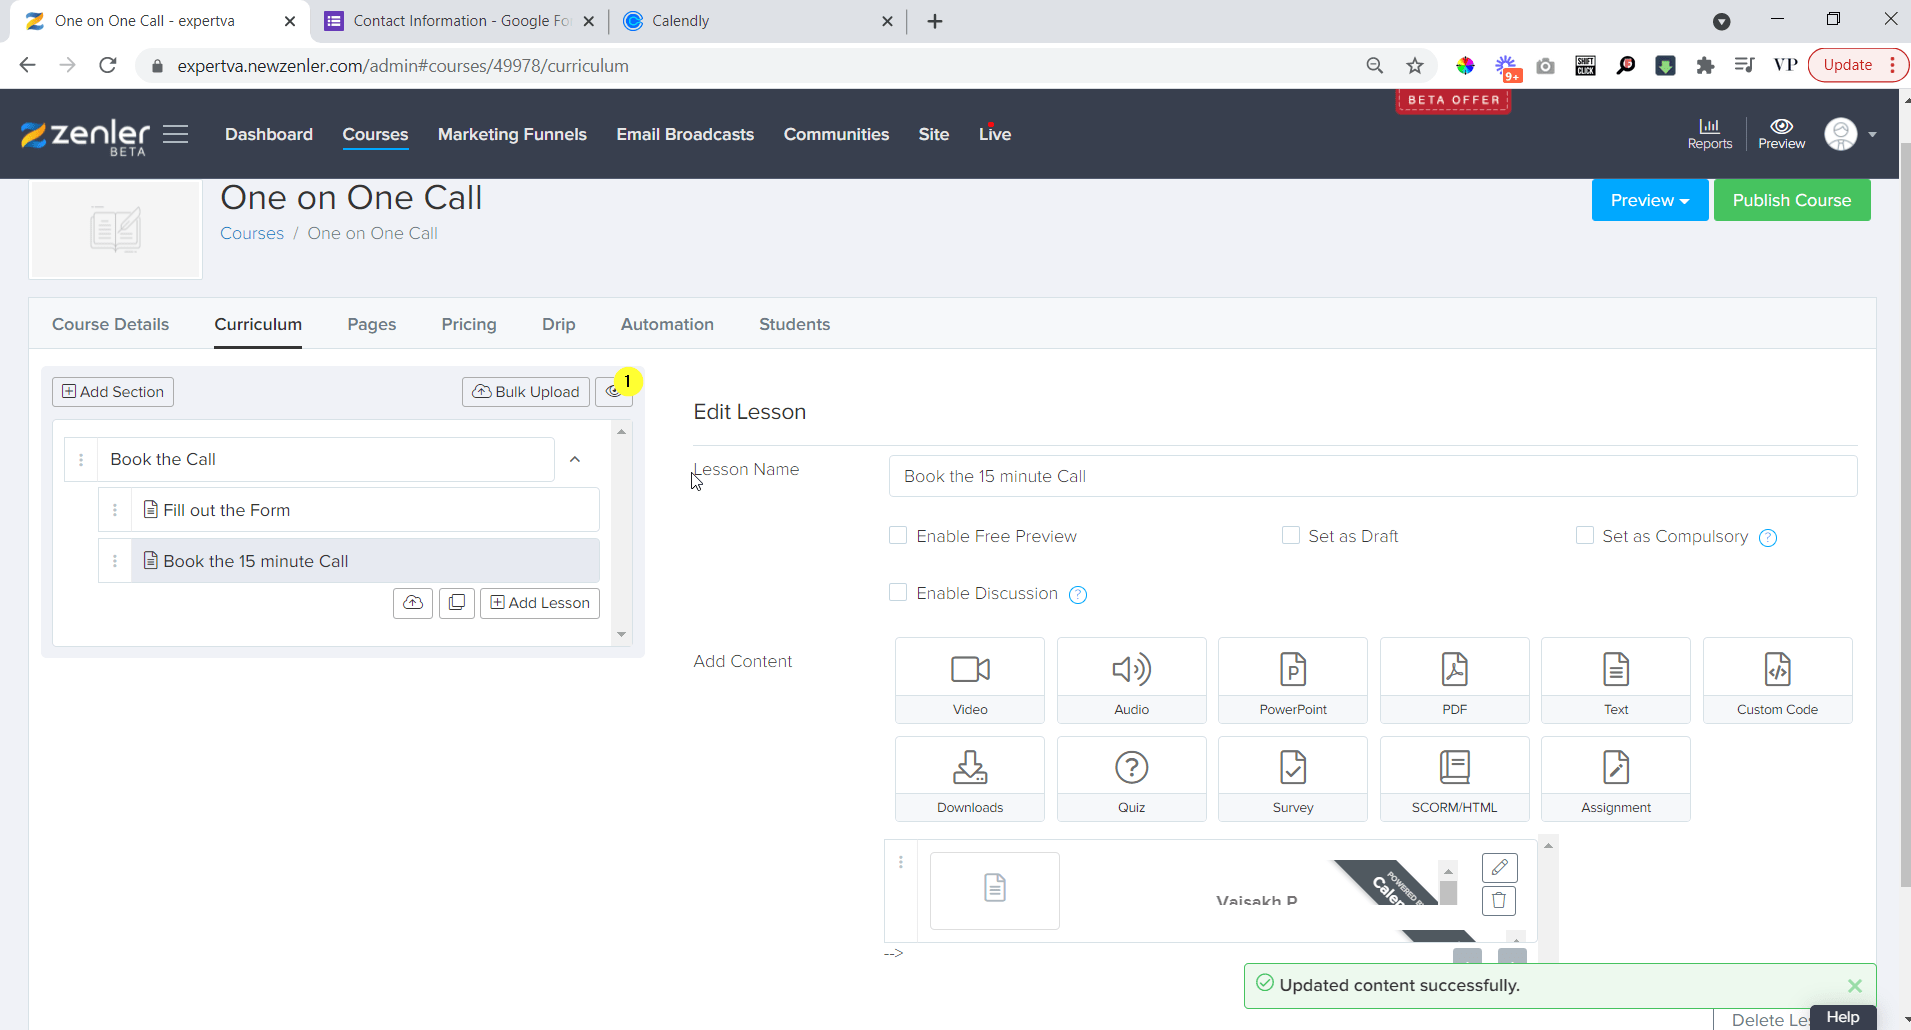
All Done! You have successfully created and set up the Booking set up in New Zenler. You can Preview the set up by clicking on the Preview Button ("Eye Symbol" as shown in the image below).

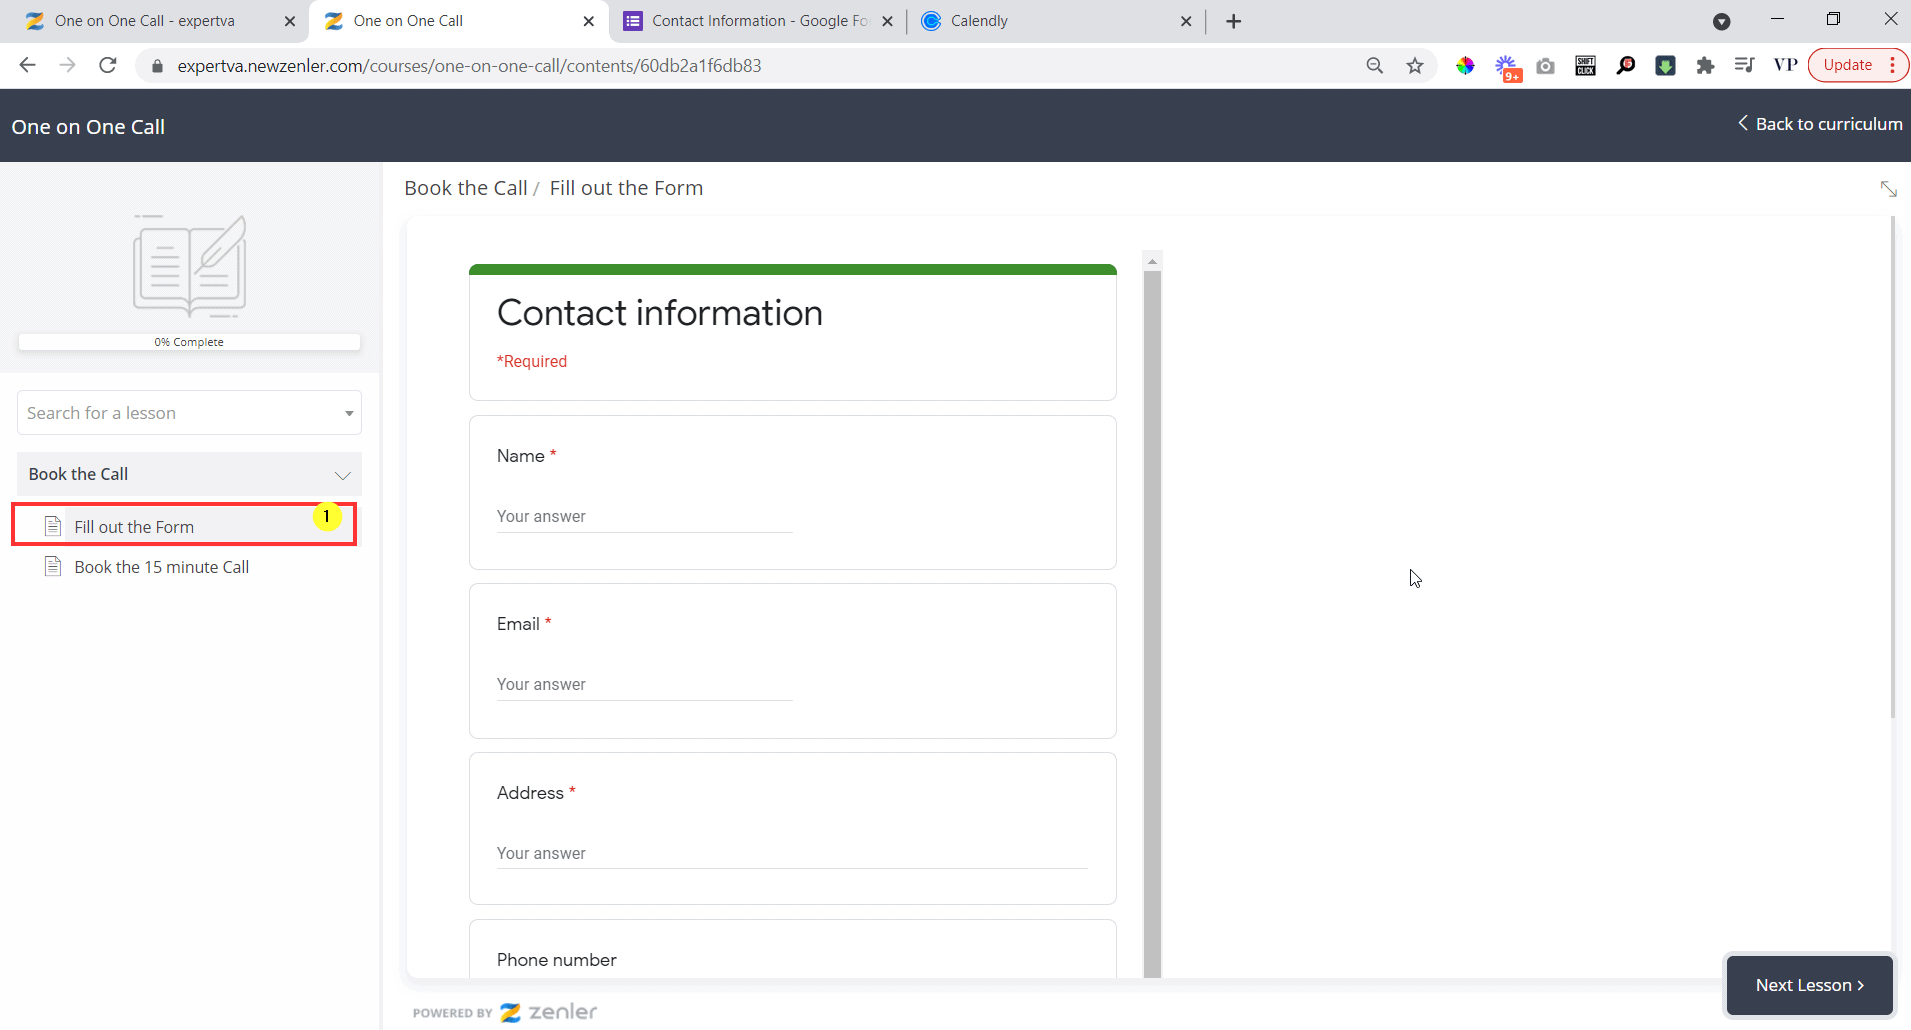
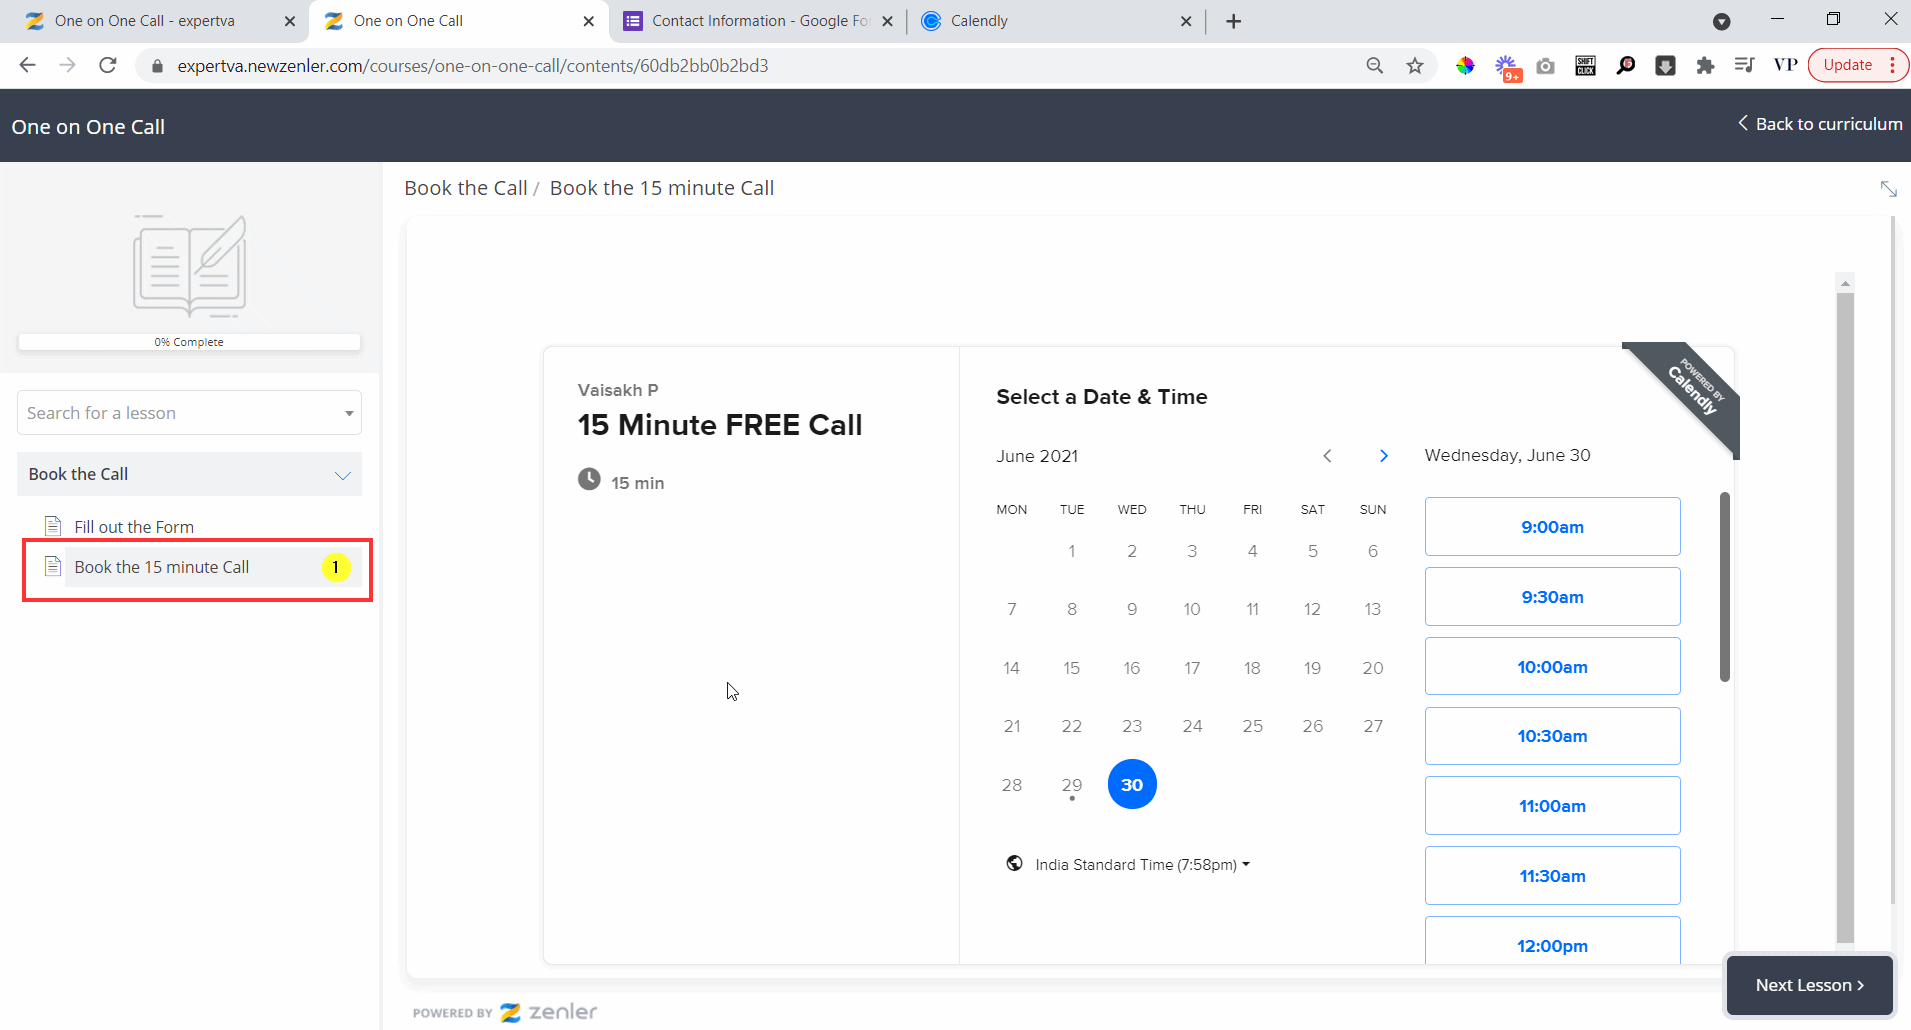
In the preview you can see that the Google Form and the Calendly Appointment page is now embed in the course curriculum

Google Form Lesson

Calendly Appointment Booking Section
Make sure to Publish the course by clicking the "Publish" button at the top.

You have now successfully created a one on one call booking set up in New Zenler.