How to Send Automated Emails With New Zenler
Sending automated emails can save you a ton of time. Automation is truly powerful when used for making our lives a little easier.
With New Zenler you can set automation on a course-by-course basis.
This is HUGE. New Zenler allows course creators to have this sort of granular control over student communications. Coming from teachable, this was a breath of fresh air.
The first thing I did is to disable automatic system-generated notifications. Once those are disabled, you can go work on automation.
Follow these steps to setup automation within each course.
Step 1: Course > Automation
Click on the Course's main navigation menu link and then select the course for which you want to enable automation.

Step 2: Automation > Edit Automation Rules
You will notice that each course has two pre-built automation within it. That two automation are:
- Enroll Email Sequence
- This will send automated emails to students who enroll in the course.
- Drip Notification Sequence
- This will notify students when new lessons are released using New Zenler's drip functionality.

To send automated emails to your students upon enrollment, you want to enable the Enroll Email Sequence.
Step 3: Edit Automation
Click the little pencil icon to edit particular automation. We'll be editing the Access Instructions Email within the Enroll Email Sequence automation.

Select the email that you'd like to edit.

An edit action pane will open on the right side. You'll want to change some (or all ) of the pre-populated details to make it resonate with your students.
Once you've finished making all of the recommended changes, toggle the "Make this Action Live" button.
Step 4: Testing
Anytime you make a change that is going to send out live communications, it is always best practice to test that change. New Zenler provides you with the ability to test your changes by sending a test email.
Simply put the email address in the space provided and click the "Send Test" button.
Now you will be able to see how this email looks like on your desktop and mobile device. Once you approve of it, it's time to make this automation live!

Step 5: Applying Filters
Once everything looks in order, the last step before you make your automation live is to apply any filters.
Filters allow you to segment your students into different buckets. For example, say you want to send an email to only those students who are in your Silver Monthly Membership program and who are enrolled in a particular course within that membership. You can do that using filters.
Filters allow you to segment your students into different buckets. For example, say you want to send an email to only those students who are in your Silver Monthly Membership program and who are enrolled in a particular course within that membership. You can do that using filters.
Note
You can apply an AND/OR filter. With the AND filter, the system will look for ALL Conditions to be true. Whereas, with an OR filter, the automation will run if ANY condition equals to be TRUE.
Automation rules can be added for 3 categories i.e.
- On Enroll
- On Course Complete
- On Lesson Complete

The following filters can be added when creating a filter group.

Step 6: Go Live

When you go back to the automation list, you will see the status of the automation has changed to Live.

And there you have it. A step-by-step guide on how to use automation within New Zenler.
About Me
Amit Arora
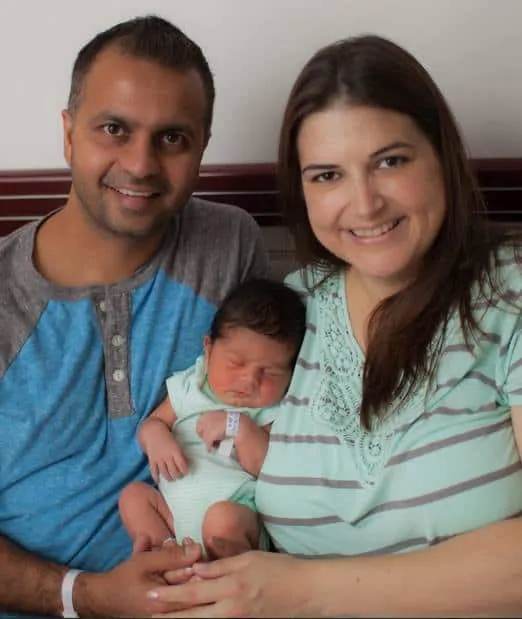
First off, thank you so much for stopping by! I started my course creation journey in 2015 when we had our 1st baby boy. My wife was home on maternity leave and we came up with the idea to create an online course while she had the time off from work.
Four years later....


